Savannah Asbestos Abatement: Inside Transite Panel Removal at a Commercial Facility.
Spencer Turner • January 23, 2026

When people hear the word “asbestos,” it can feel intimidating—and for good reason. Asbestos-Containing Materials (ACMs) must be handled carefully, even when they’re considered non-friable. The key is experience, preparation, and strict control throughout the entire process. At EAS Environmental, we provide asbestos abatement services throughout both South Carolina and Georgia. We use the information we are given by the Client to come up with a stellar Scope of Work including engineering controls, removal/abatement protocols, and disposal methods. Our goal is to help you understand how professional abatement is planned, executed, and verified, so that you can make the right decision when deciding who to hire as an abatement contractor. 


Abstract:

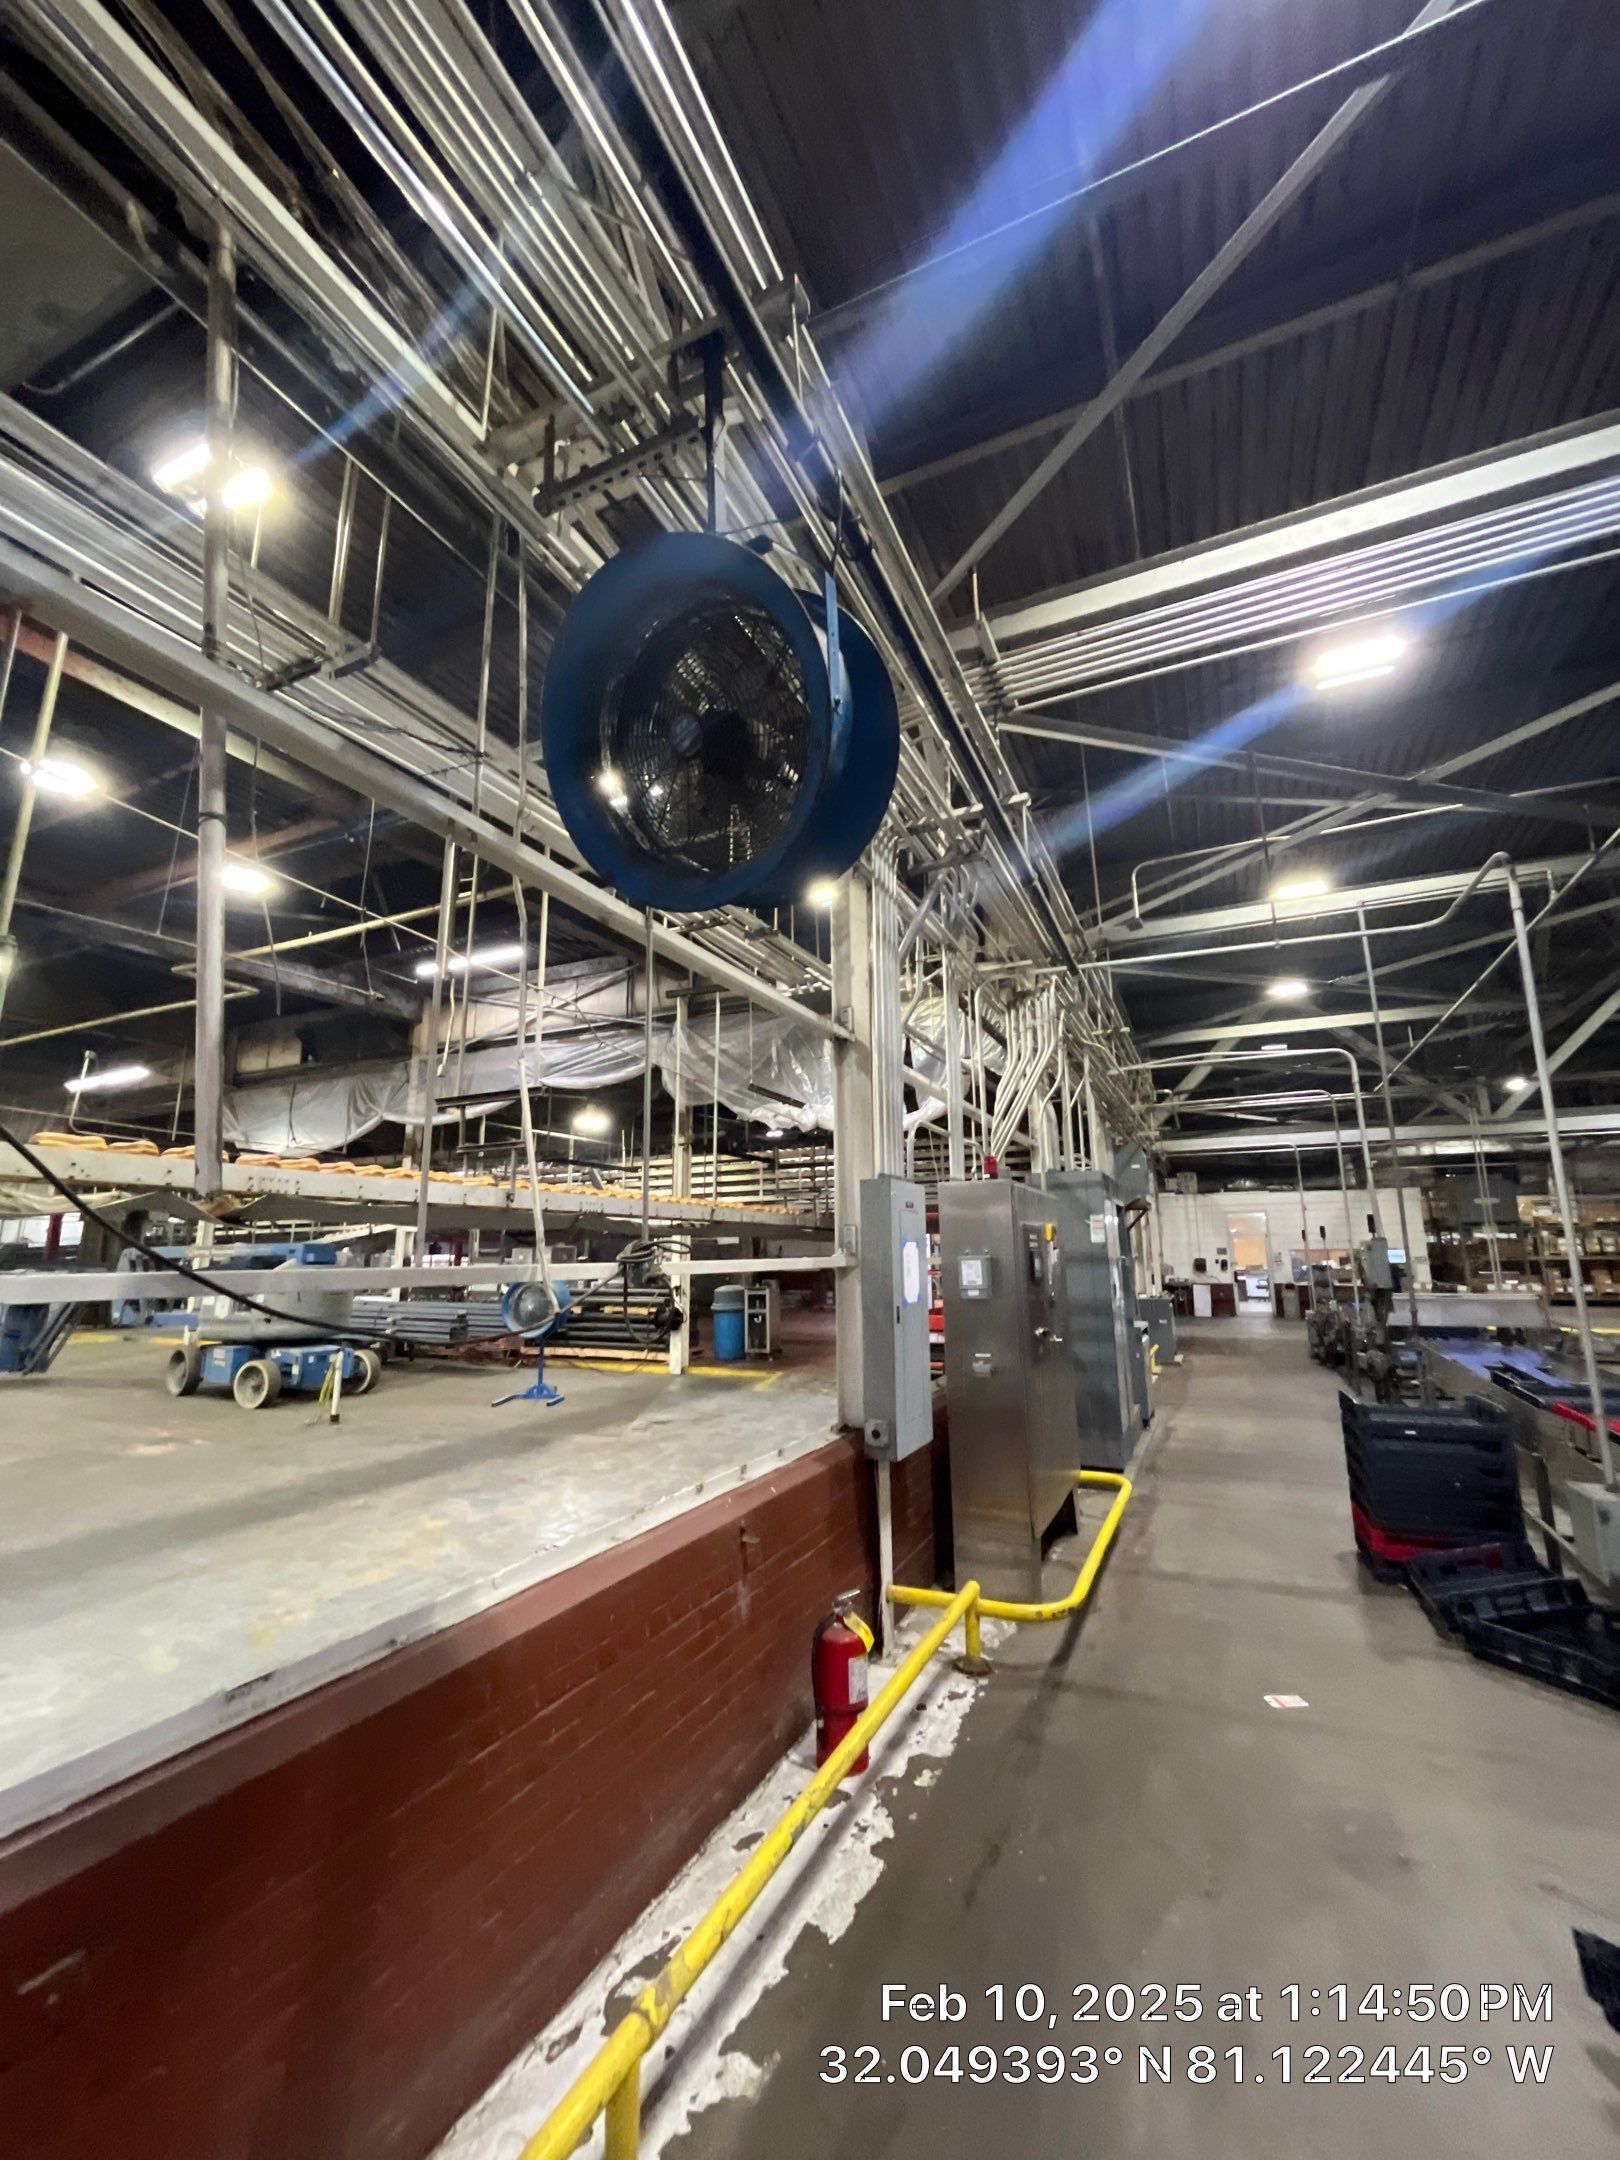
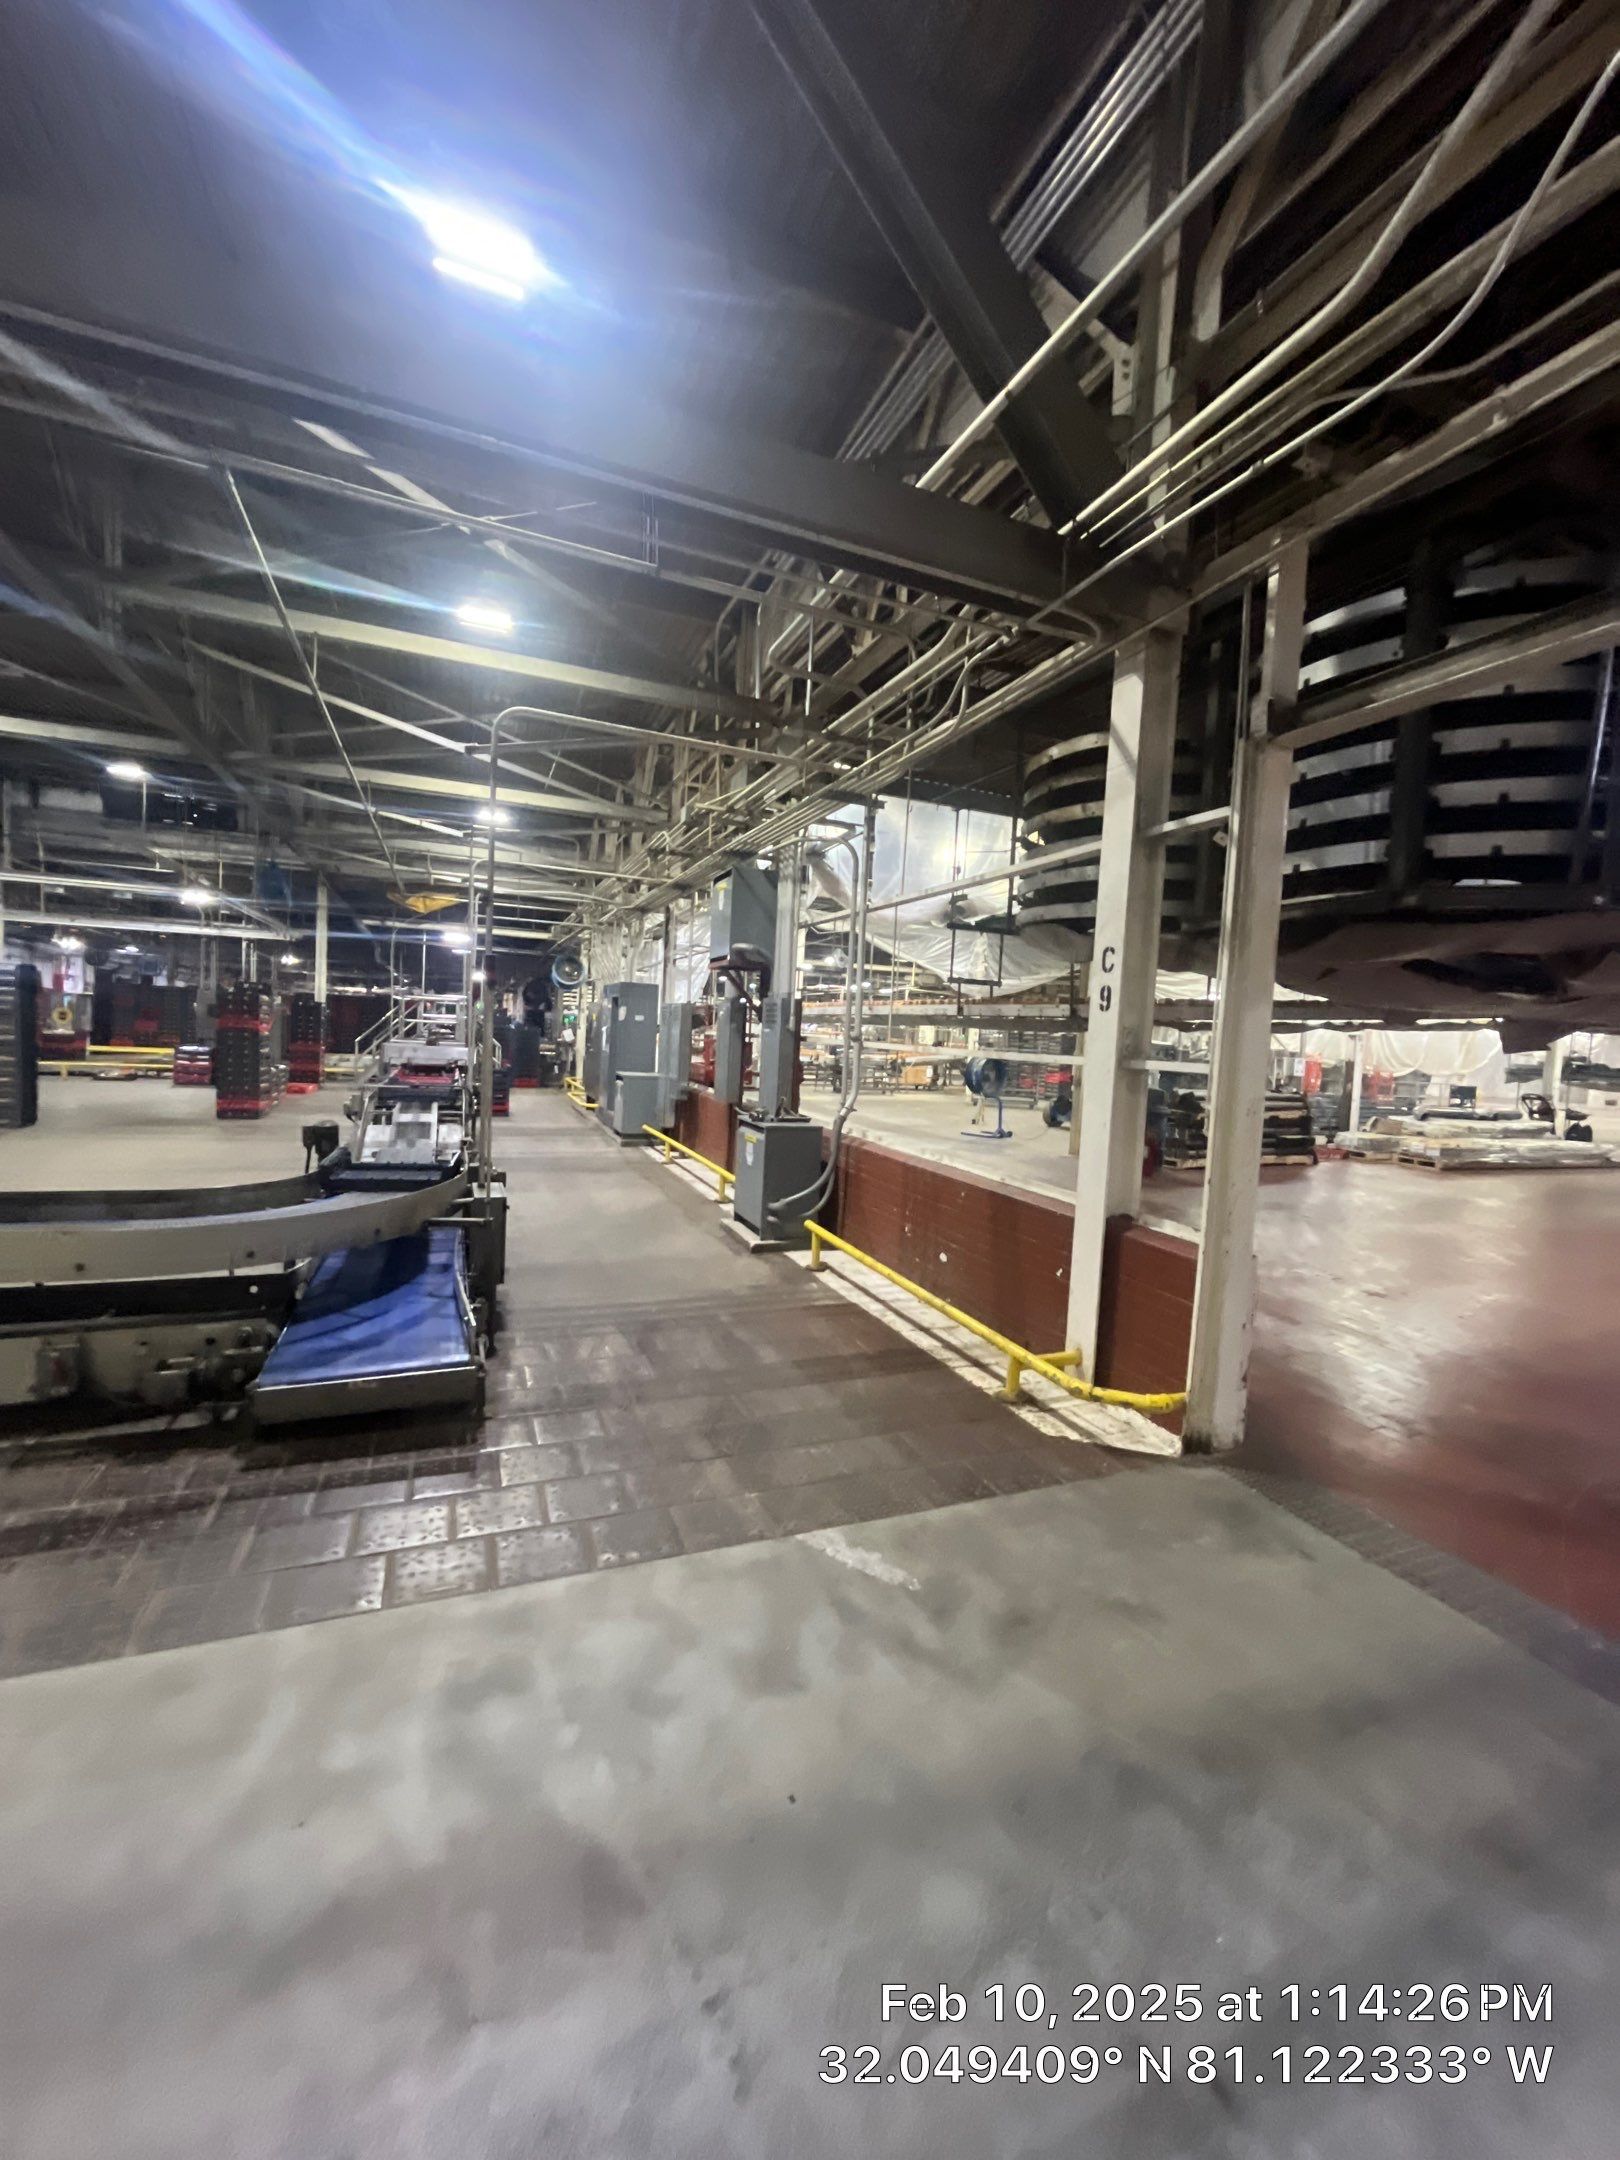
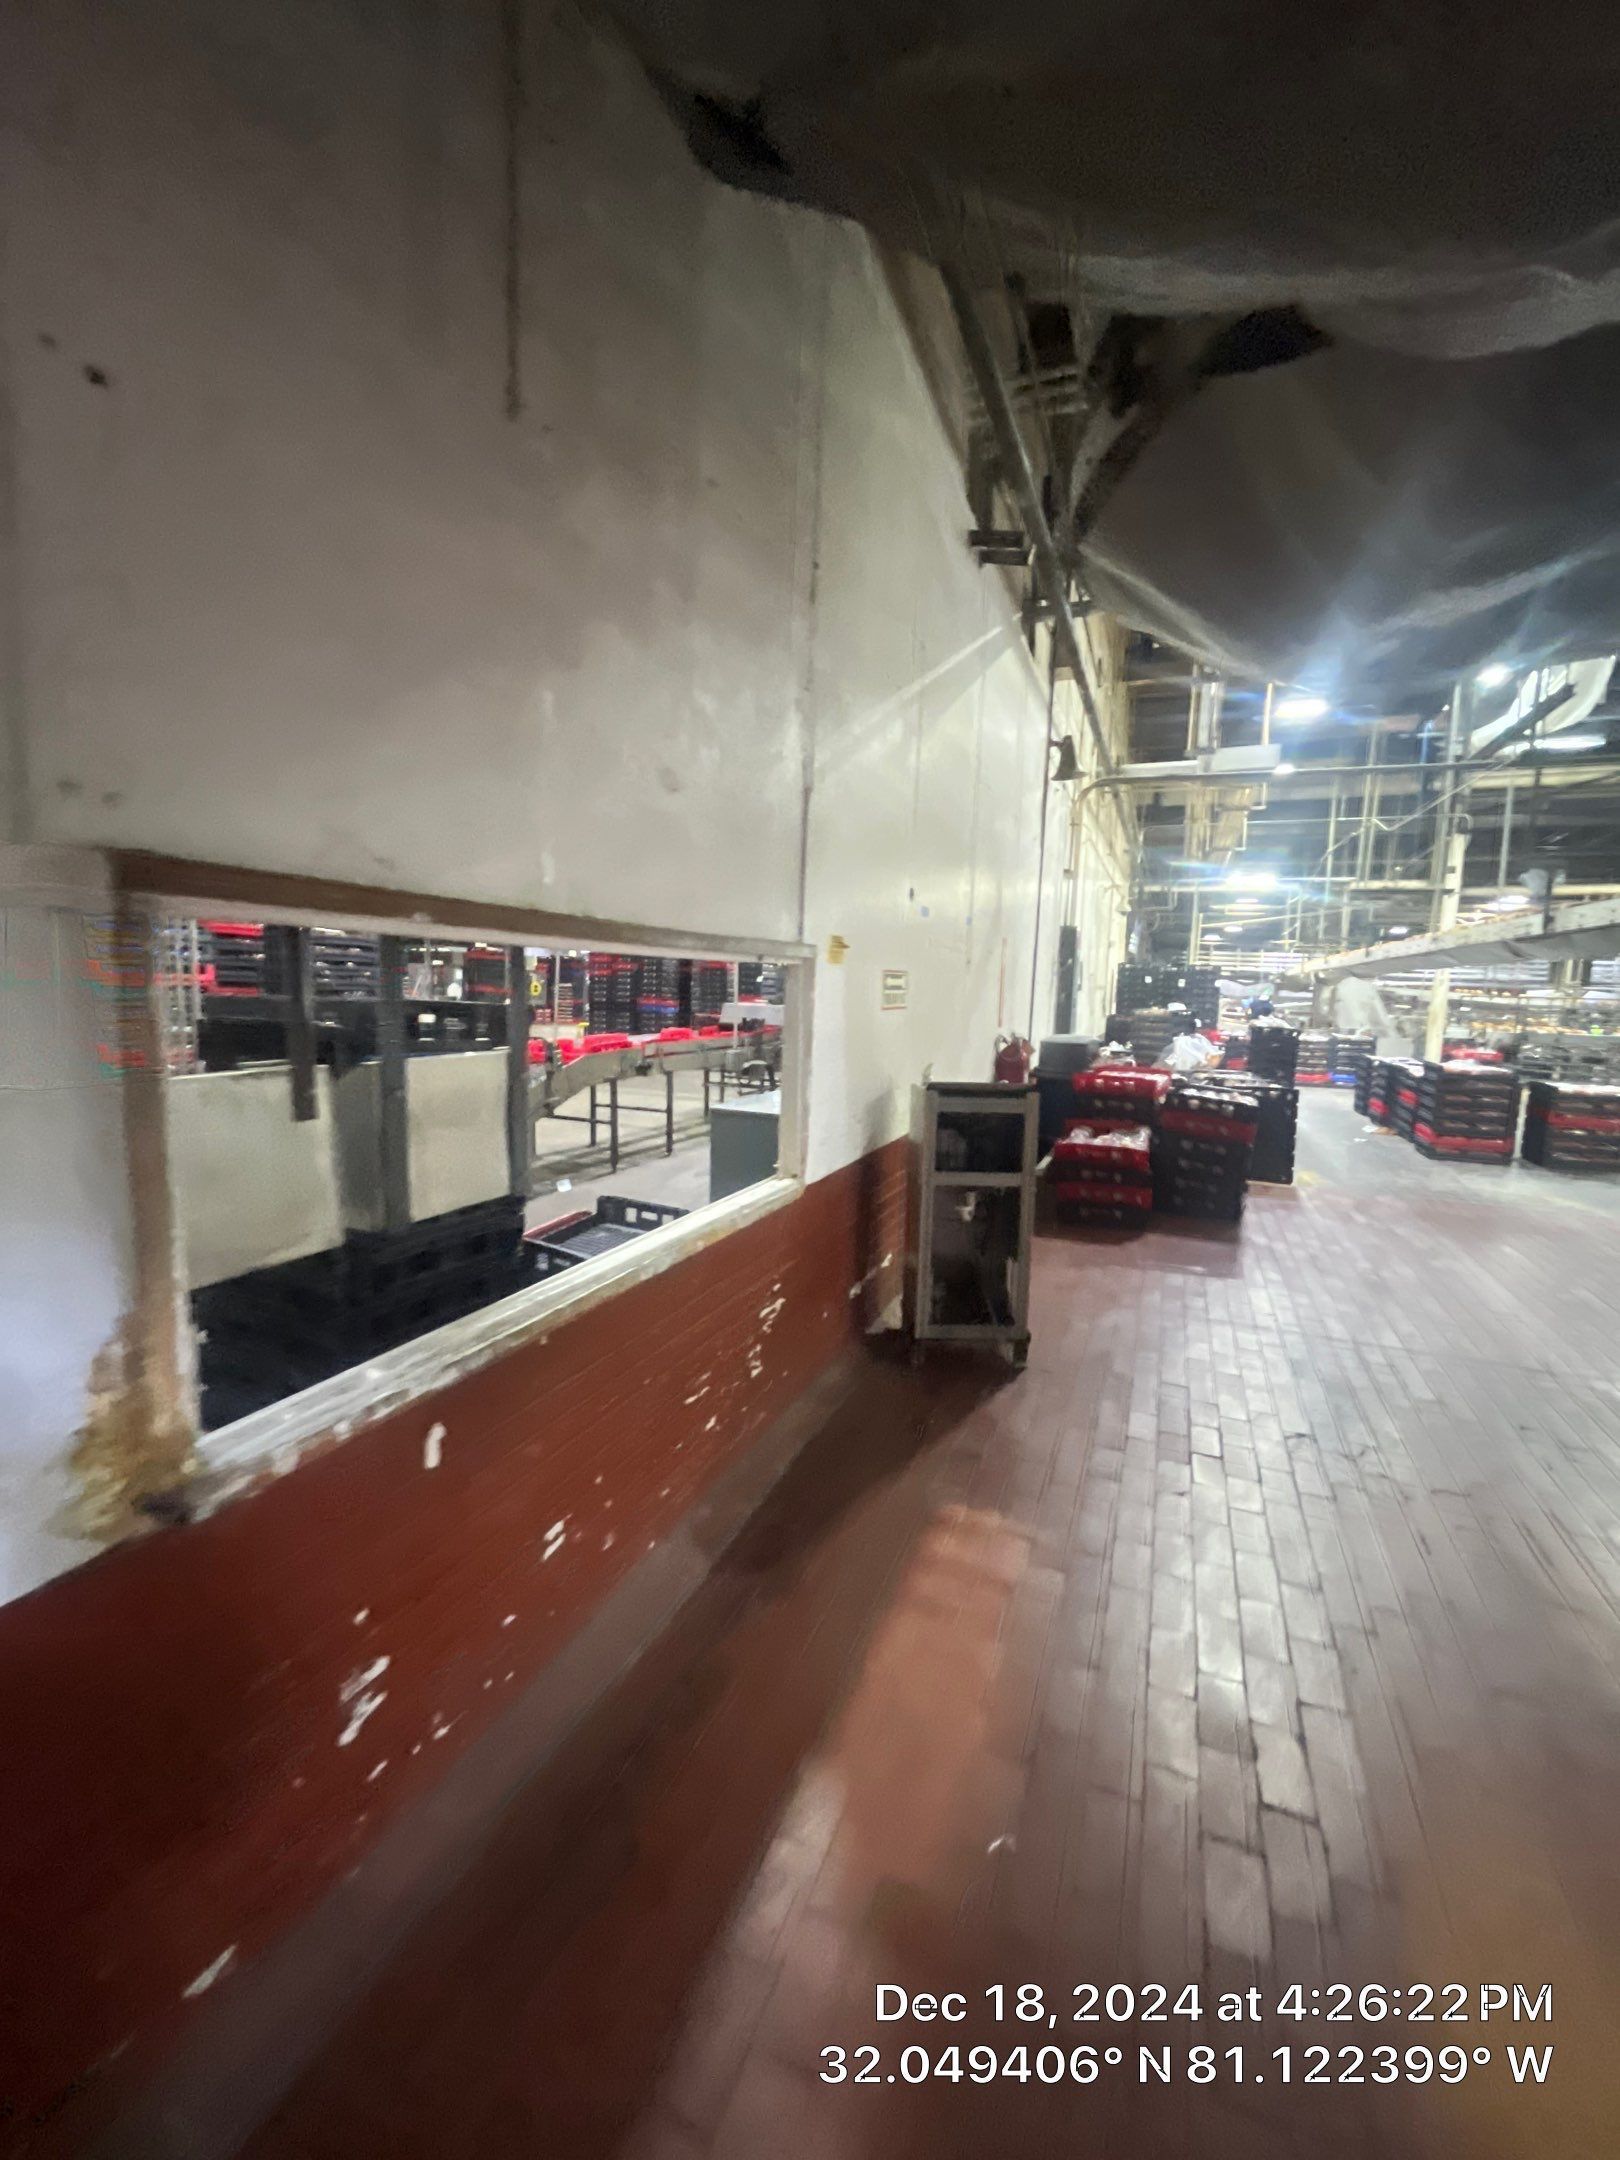
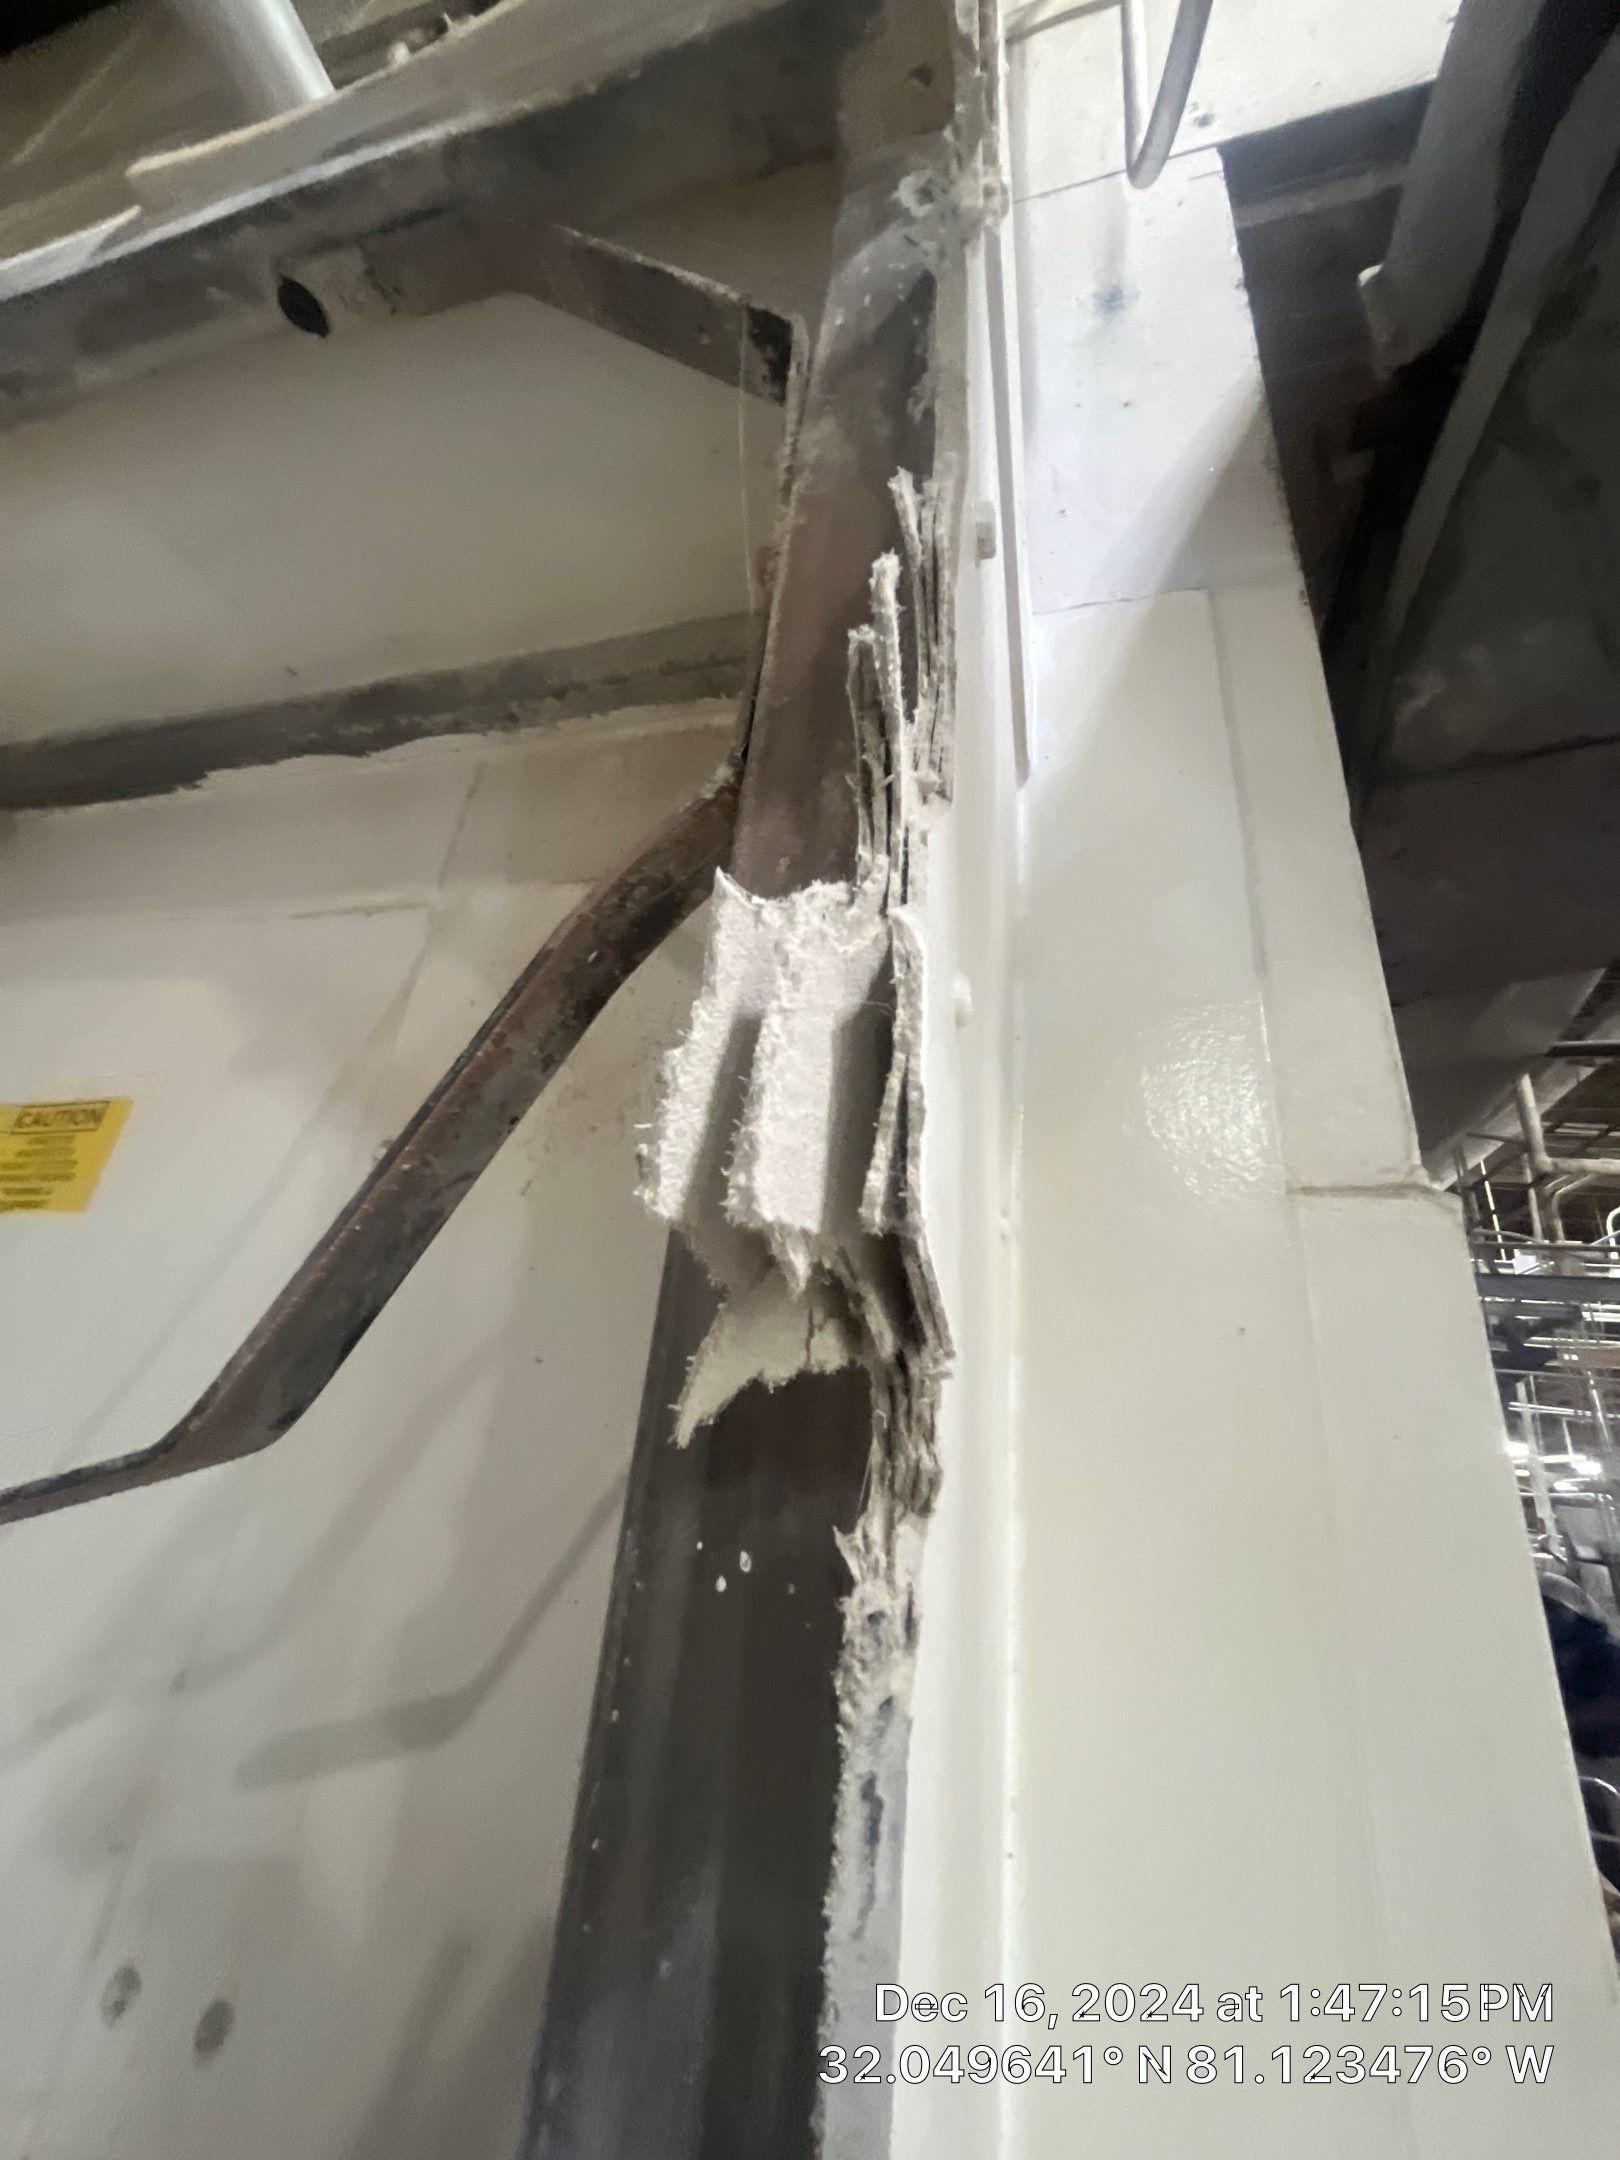
EAS Environmental completed a Class II, non-friable Category II asbestos abatement project at a commercial facility in Savannah, GA, involving the controlled removal of asbestos-containing Transite wall panels. In this case study, we will outline the process of how our team prepared the regulated area, used engineering controls like containment barriers and HEPA filtration, the methods we used in order to remove panels while intact, packaged waste correctly for disposal, and followed documentation and inspection procedures to ensure a safe, compliant close-out. This article emphasizes the importance of the amount of care that these types of abatement projects require.


The Situation: Transite Panels Require Safe, Controlled Removal

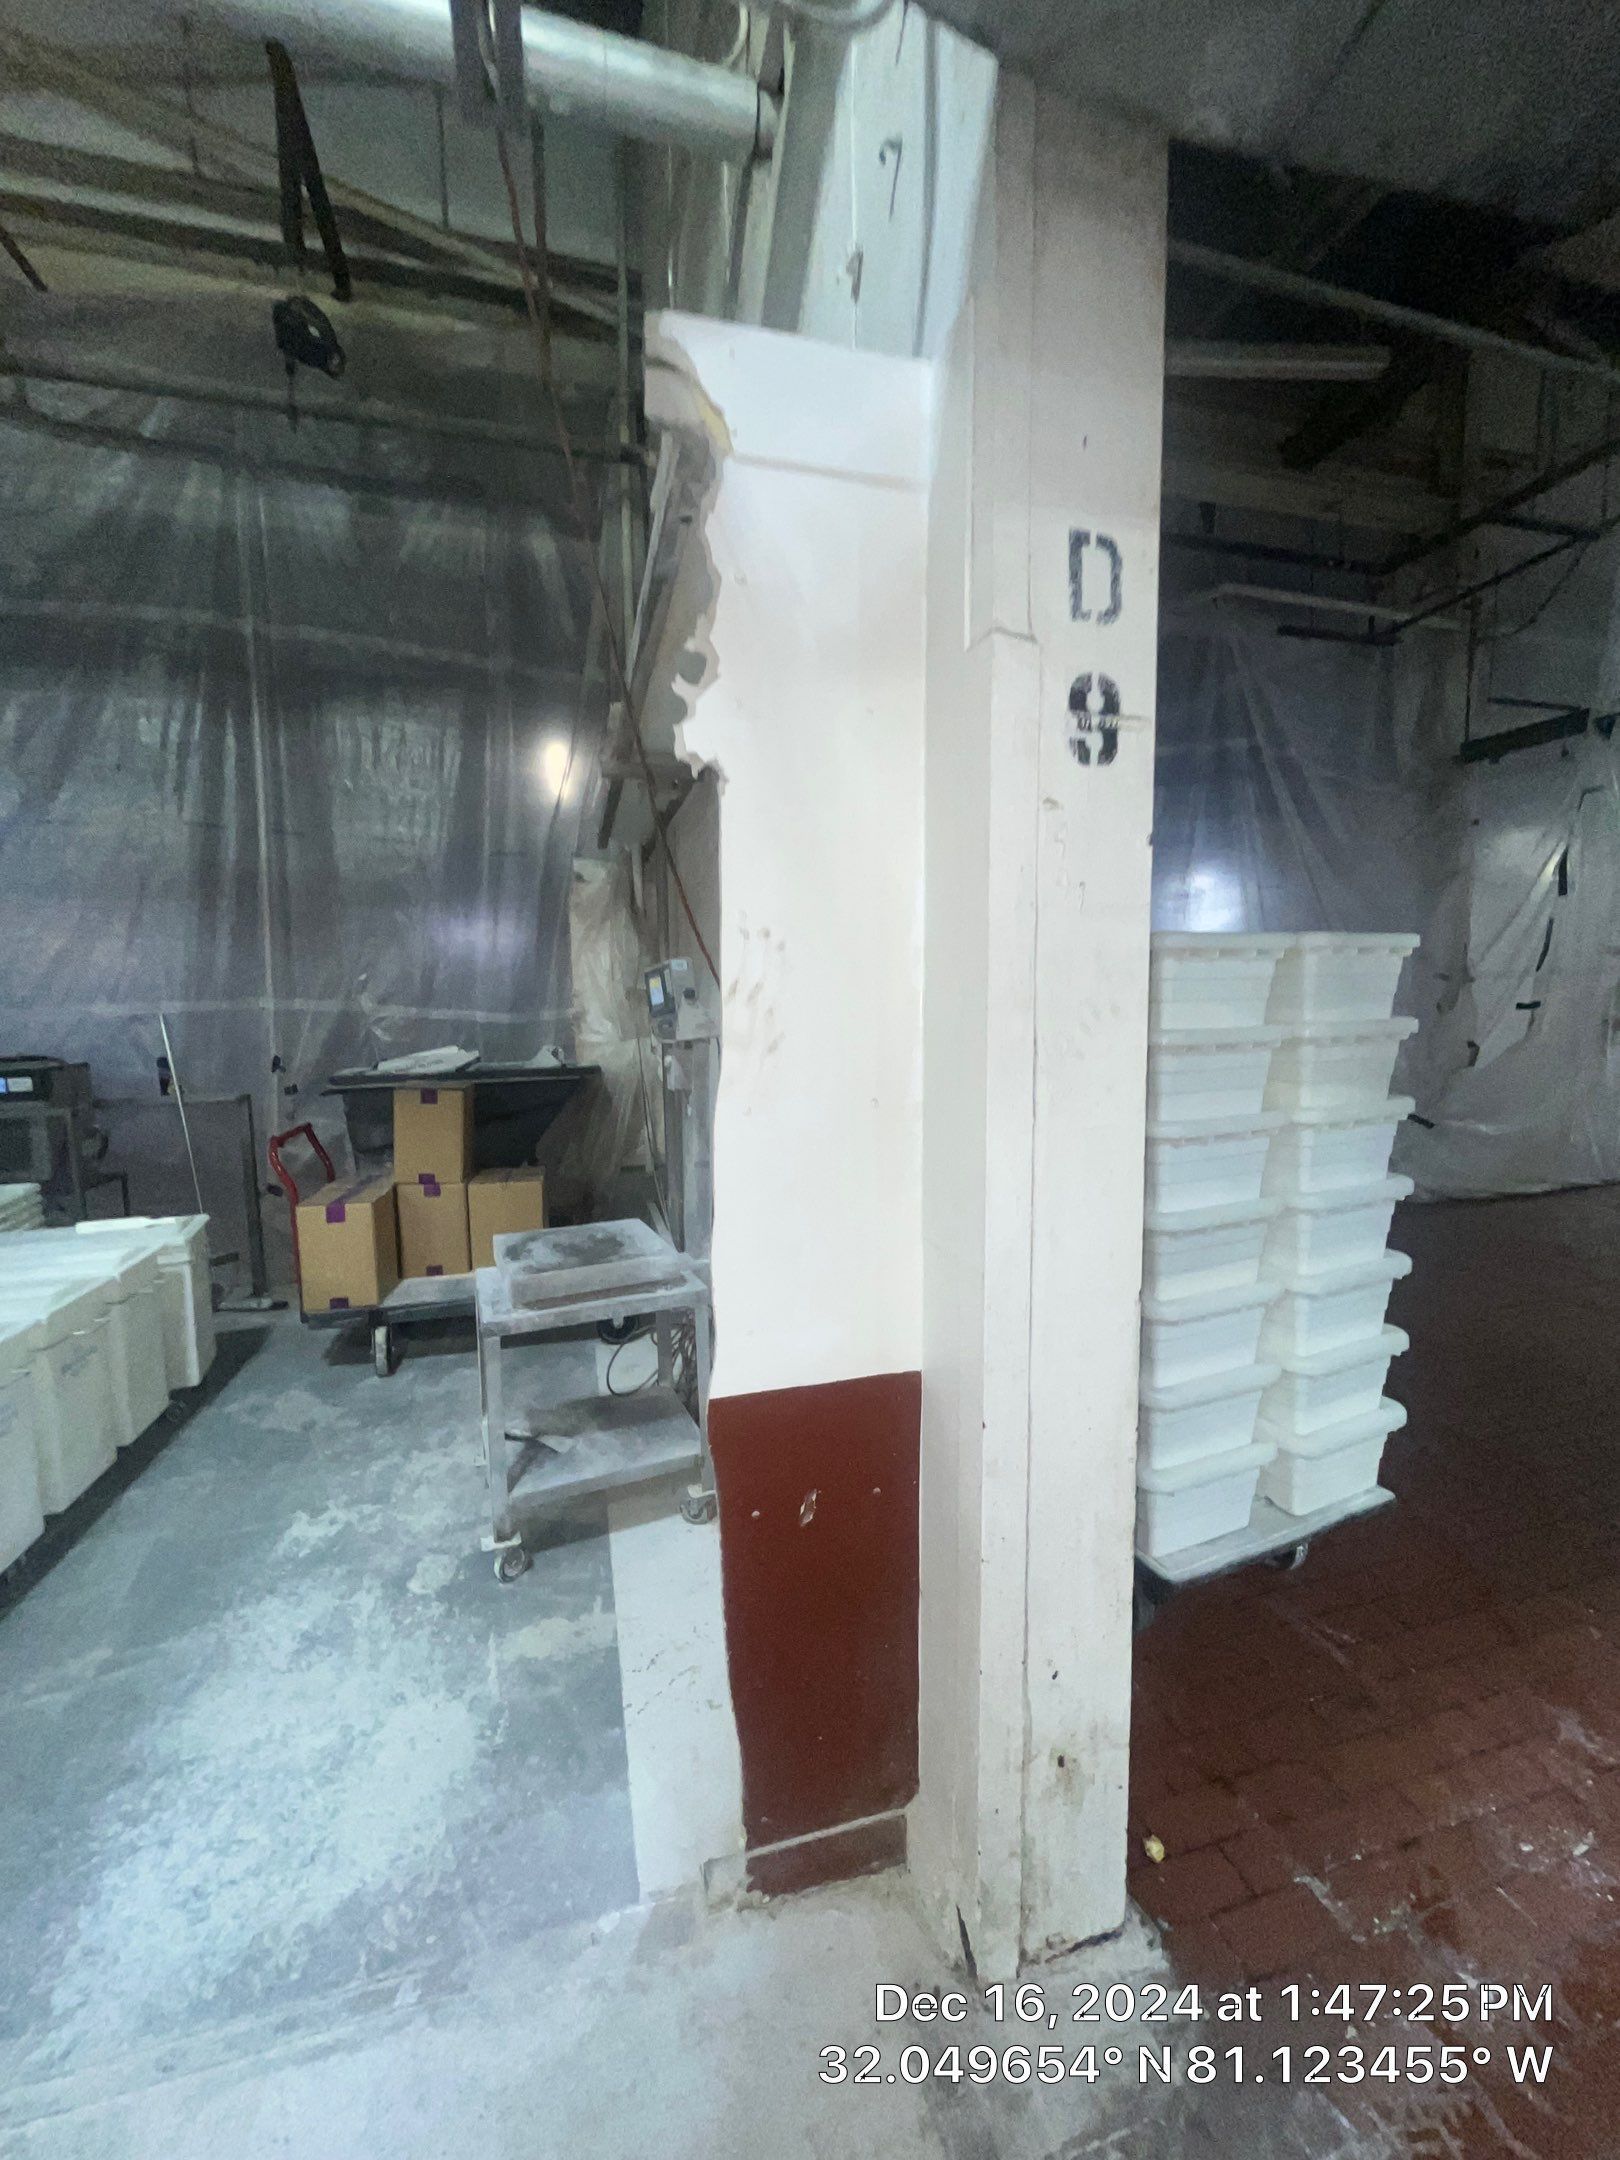
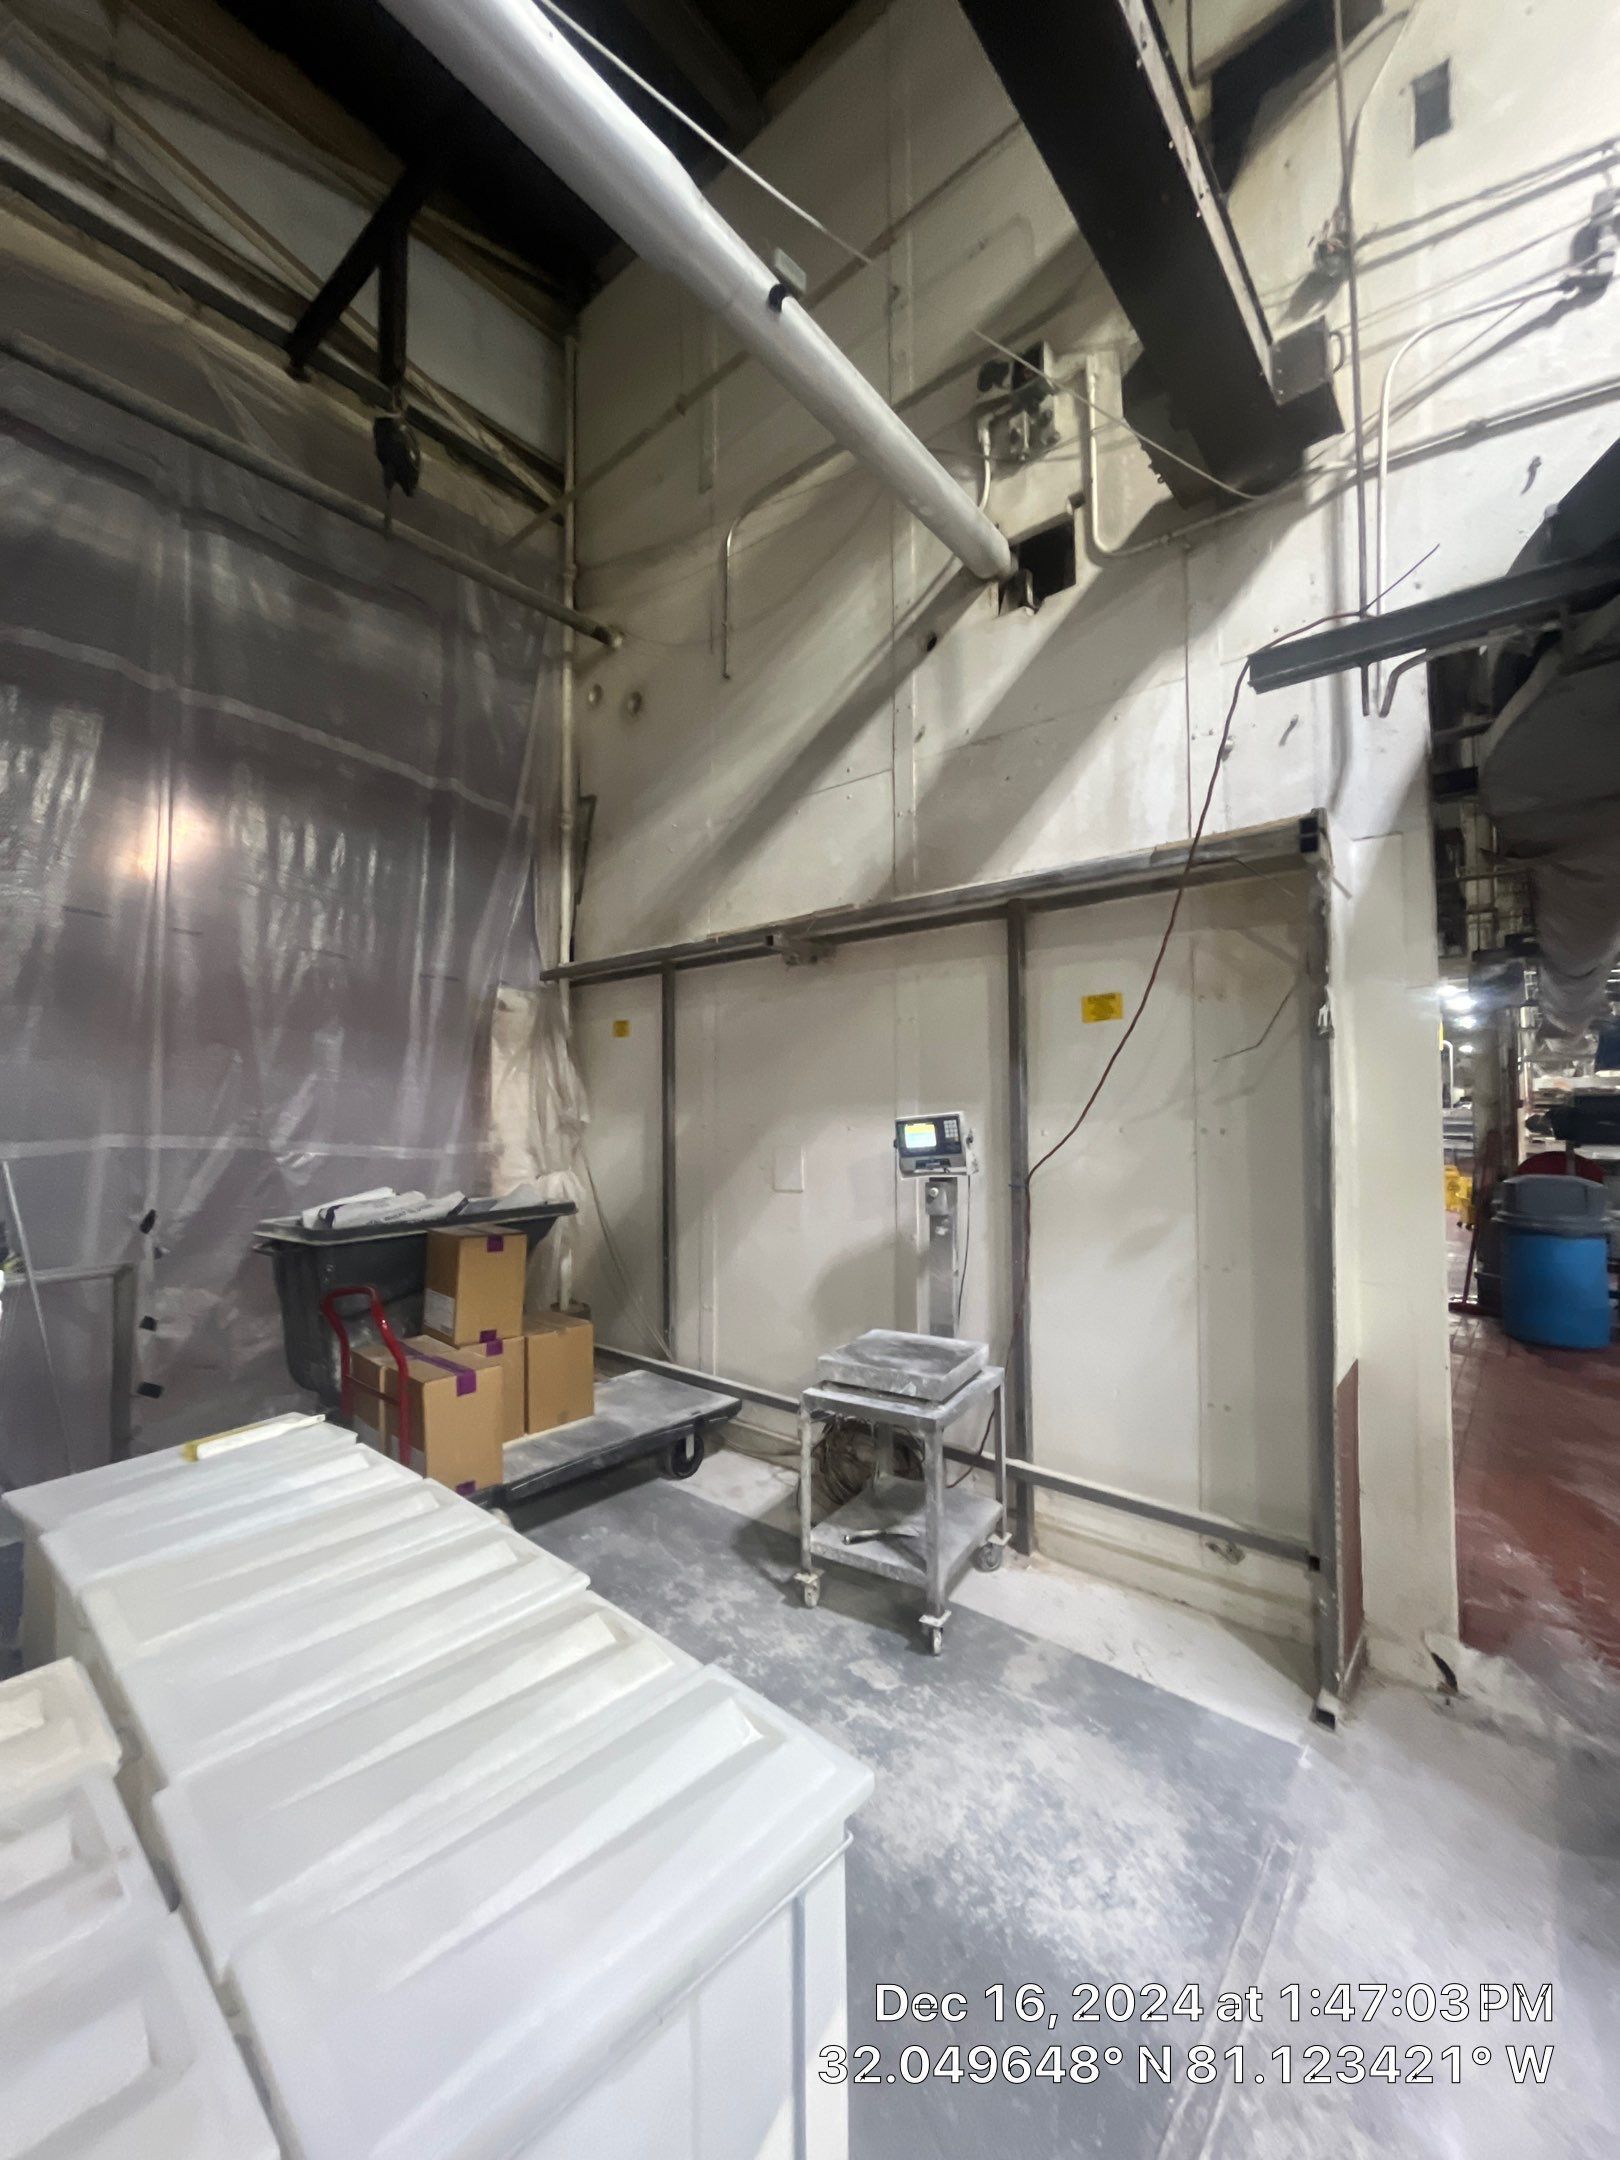
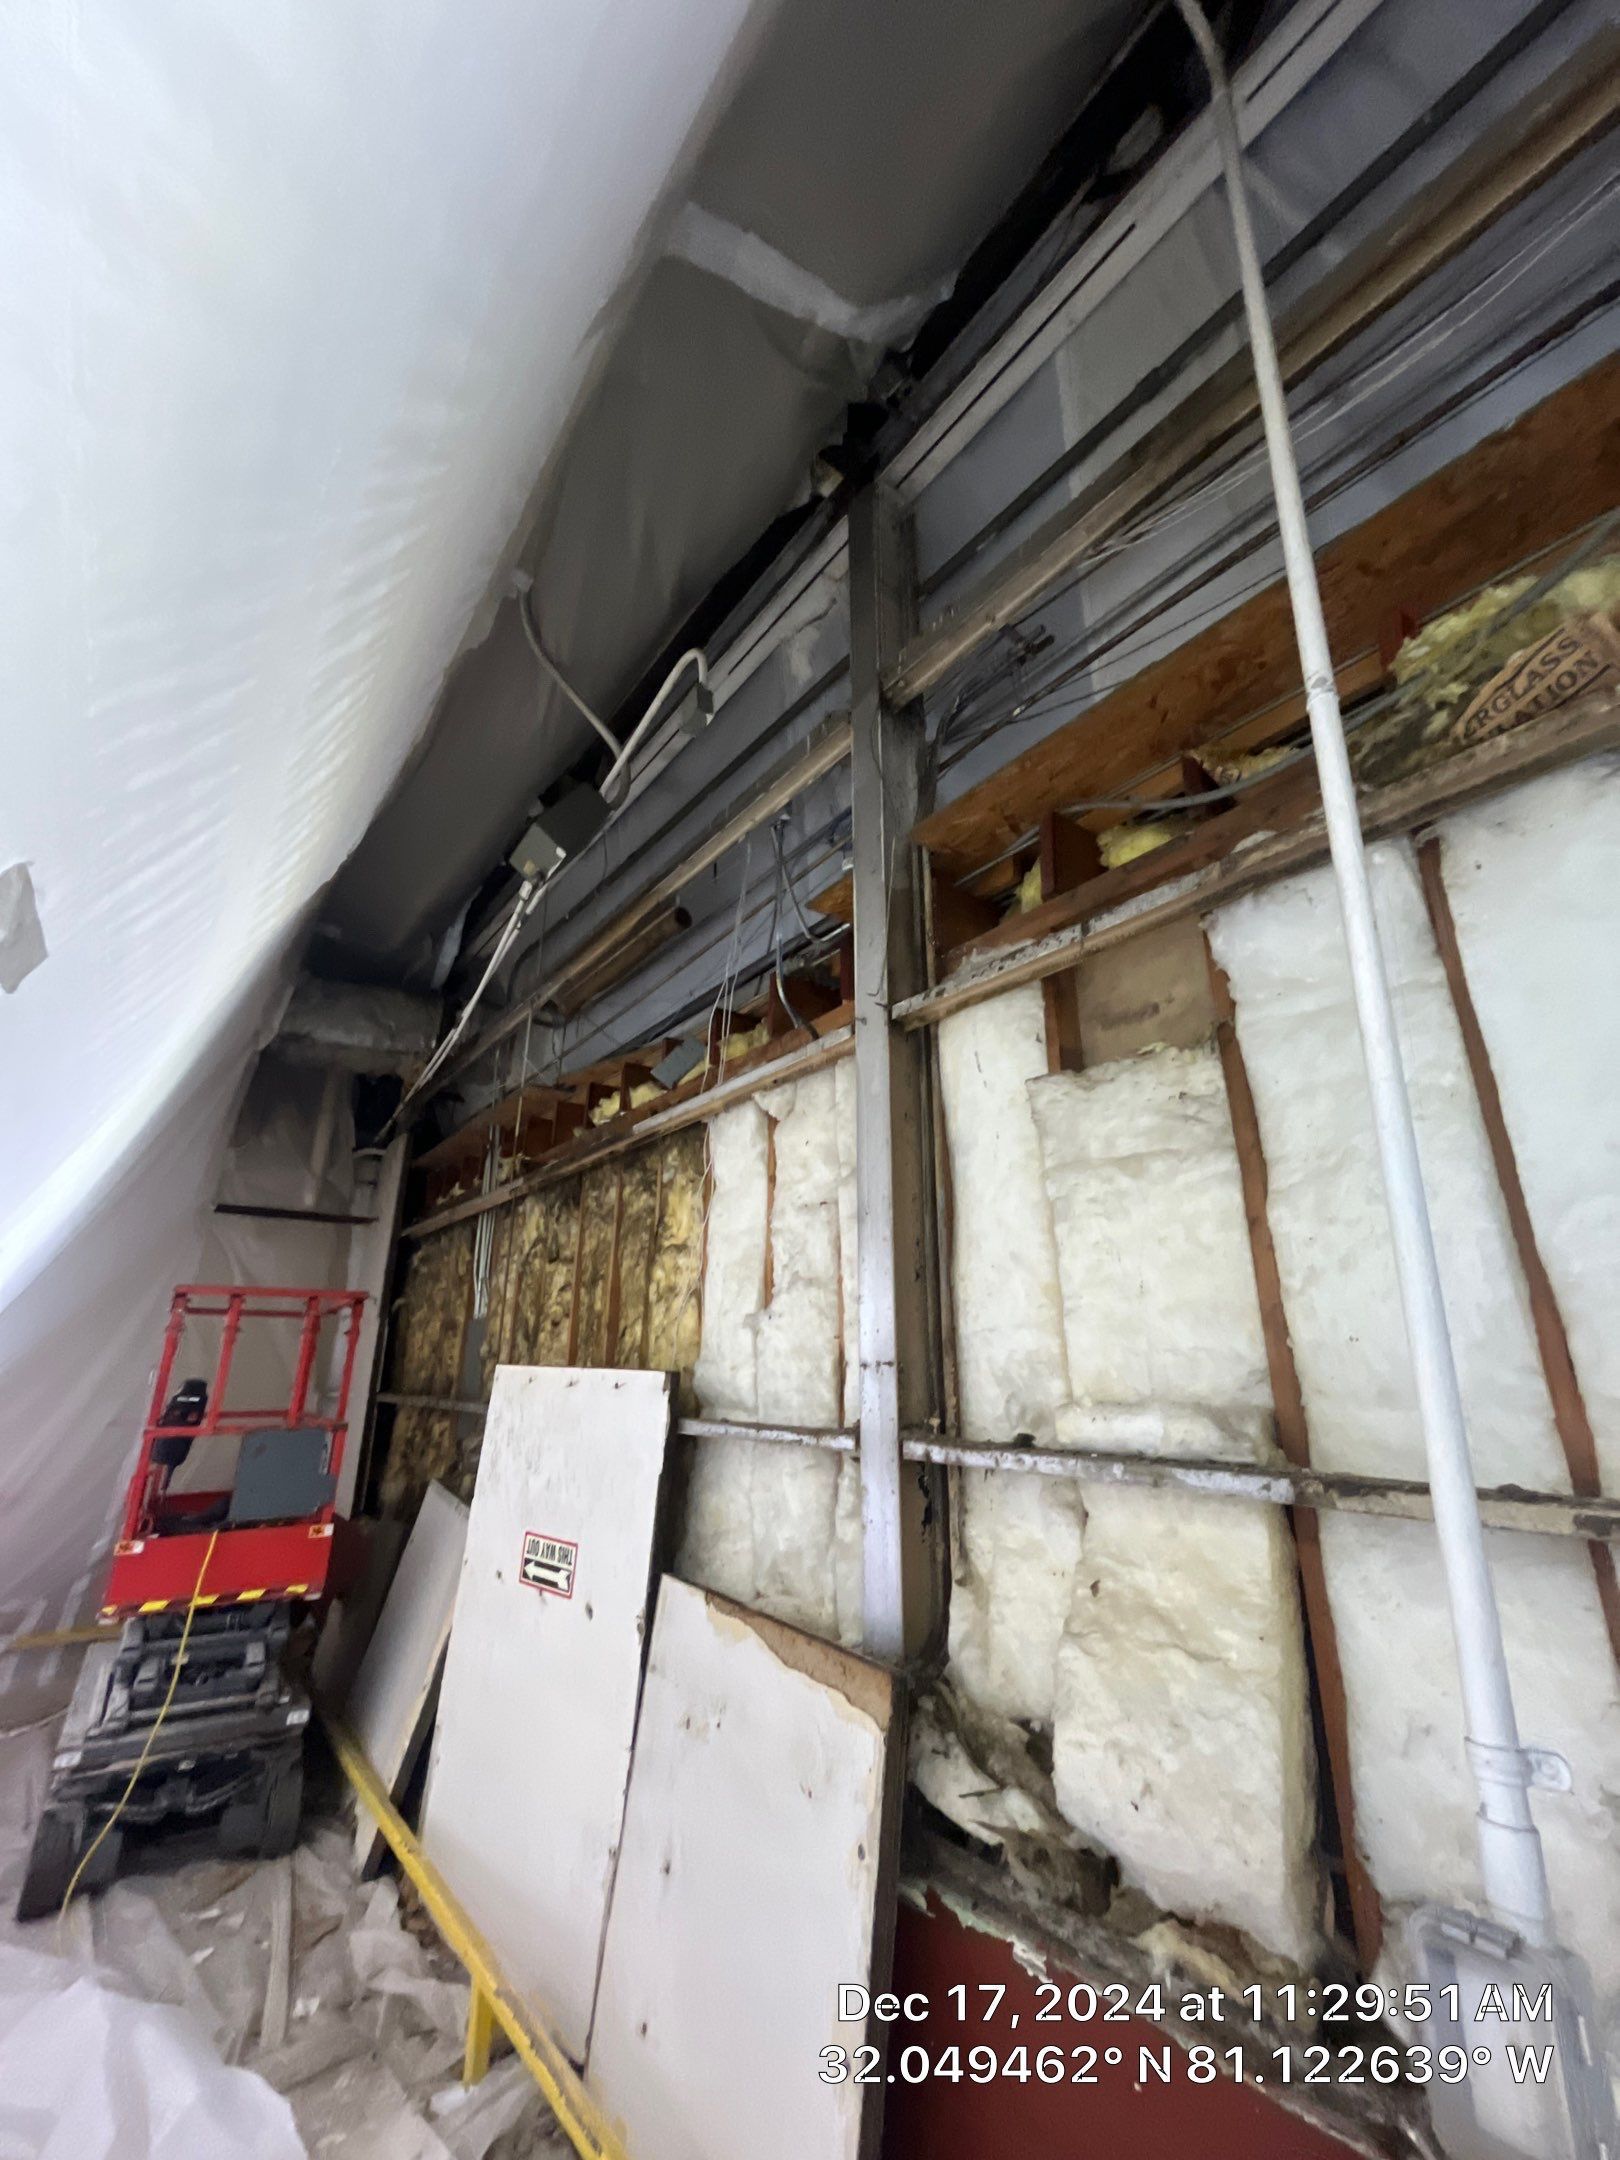
Transite panels are cement-based materials that often contain asbestos. While they are considered non-friable (meaning fibers aren’t easily released when intact), improper disturbance can create risk to everyone involved. Cutting, breaking, or aggressive removal methods can cause the material to become friable, increasing the potential for airborne fiber release and exposure. For this reason, controlled handling and appropriate work practices are essential during abatement.
  • Slide title

    Write your caption here
    Button
  • Slide title

    Write your caption here
    Button
  • Slide title

    Write your caption here
    Button
  • Slide title

    Write your caption here
    Button

Our Solution: Non-Friable Asbestos Abatement 


After third-party samples and laboratory results confirmed the presence of asbestos in the Transite panels, our team developed a Scope of Work to safely and effectively abate the ACMs.


Step 1: Understanding the Material and the Space

In this case, the Transite panels were classified as non-friable, indicating the material remains stable under normal conditions. That classification matters — but it doesn’t mean the work can be rushed. Before any of our crews were mobilized, our team:

  • Reviewed the third-party sampling report and building layout.
  • Identified the locations of the transite panels.
  • Confirmed regulatory requirements under OSHA and EPA standards.
  • Developed a detailed Scope of Work & Work Plan that was specific to this site.


Step 2: Preparing the Work Area

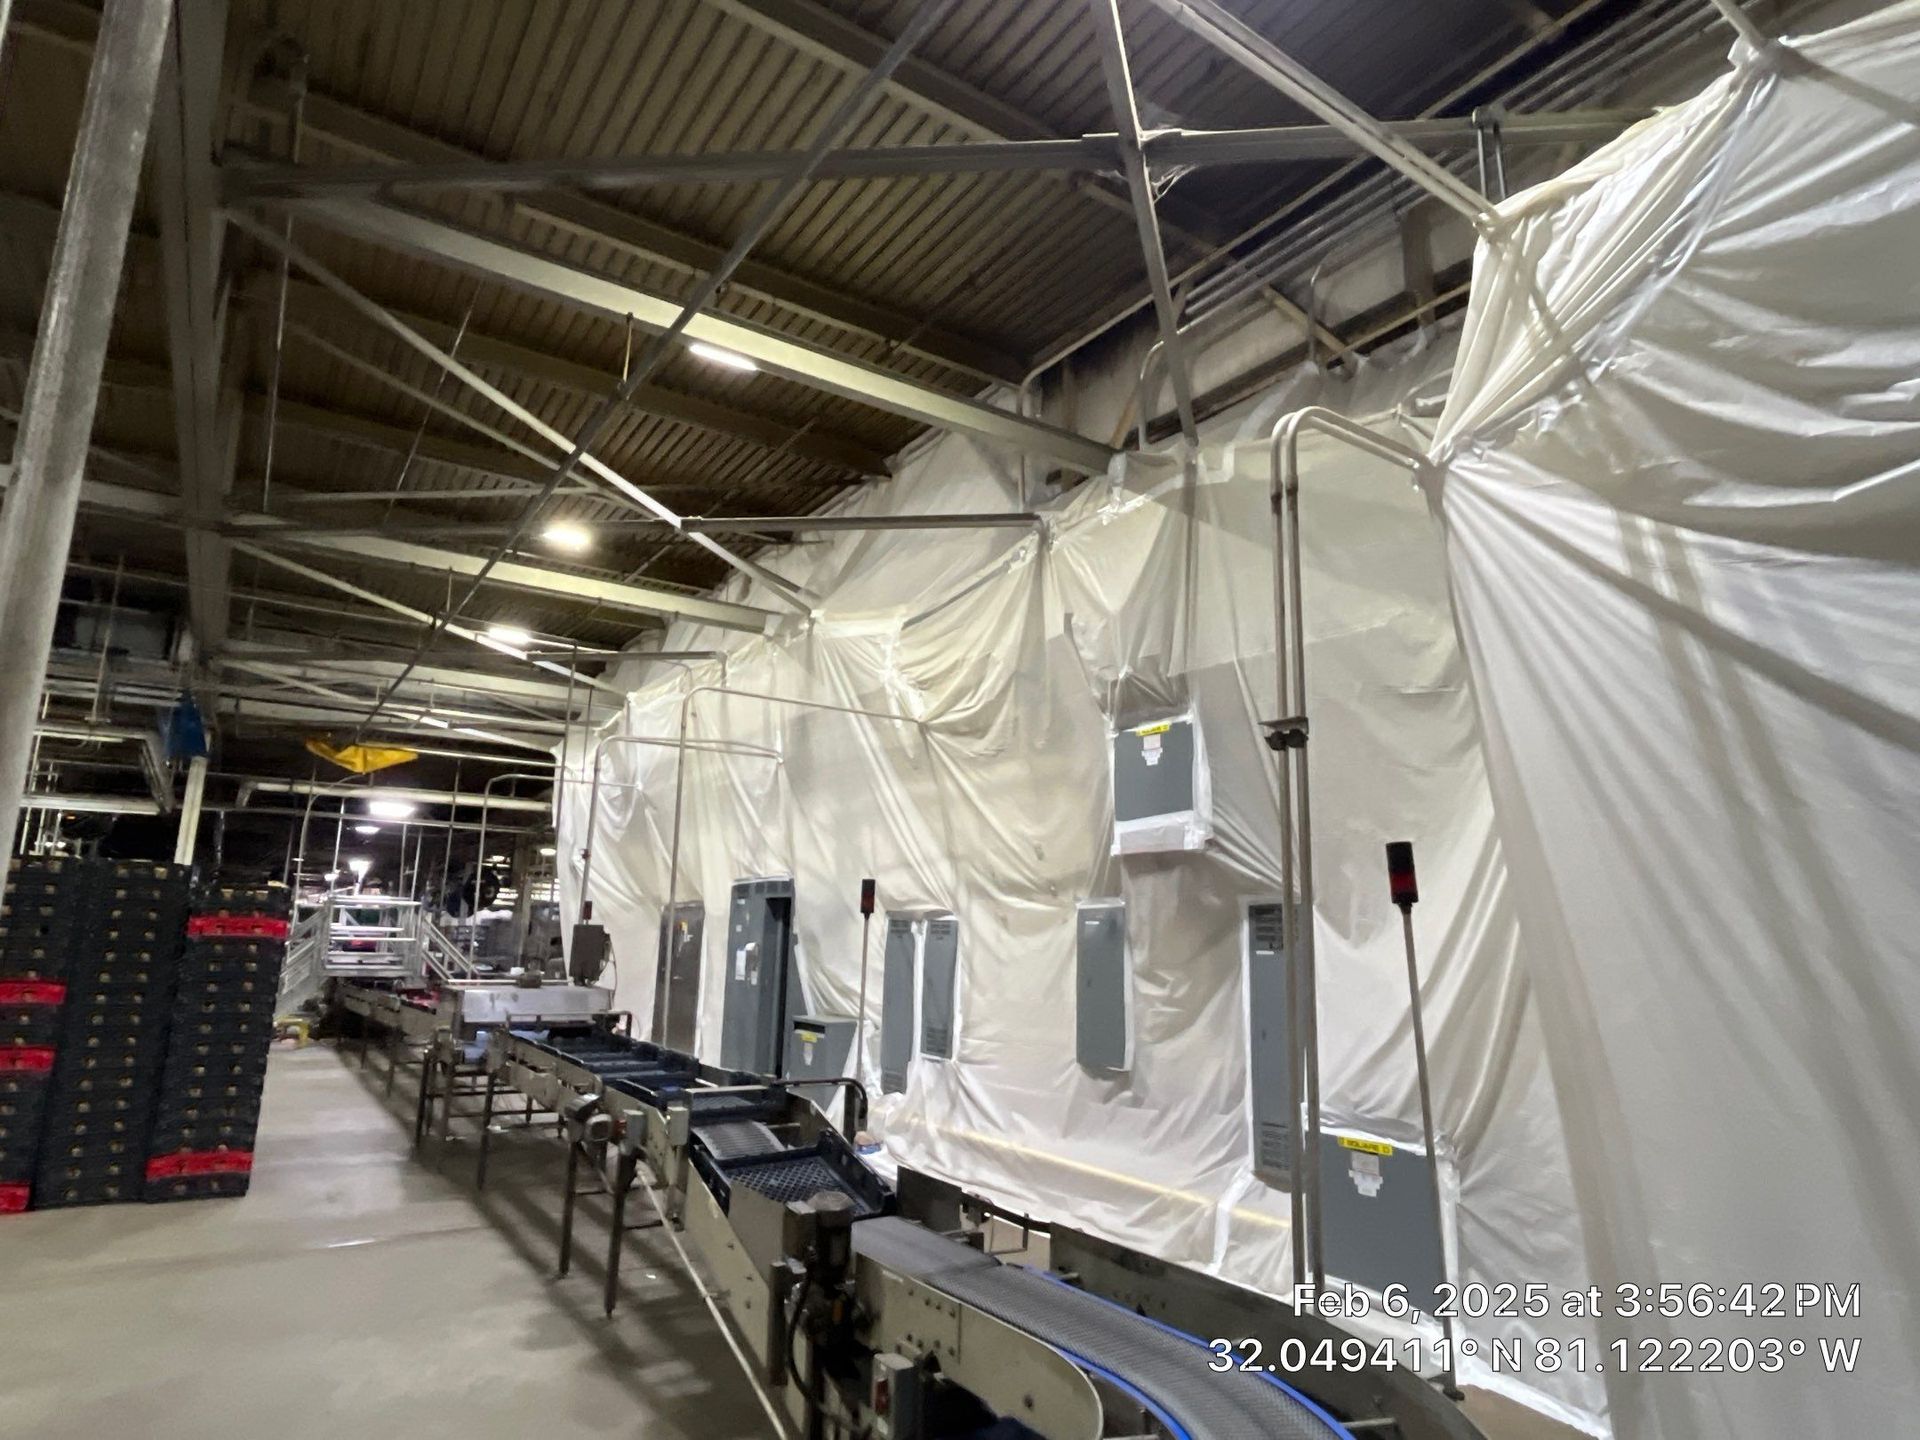
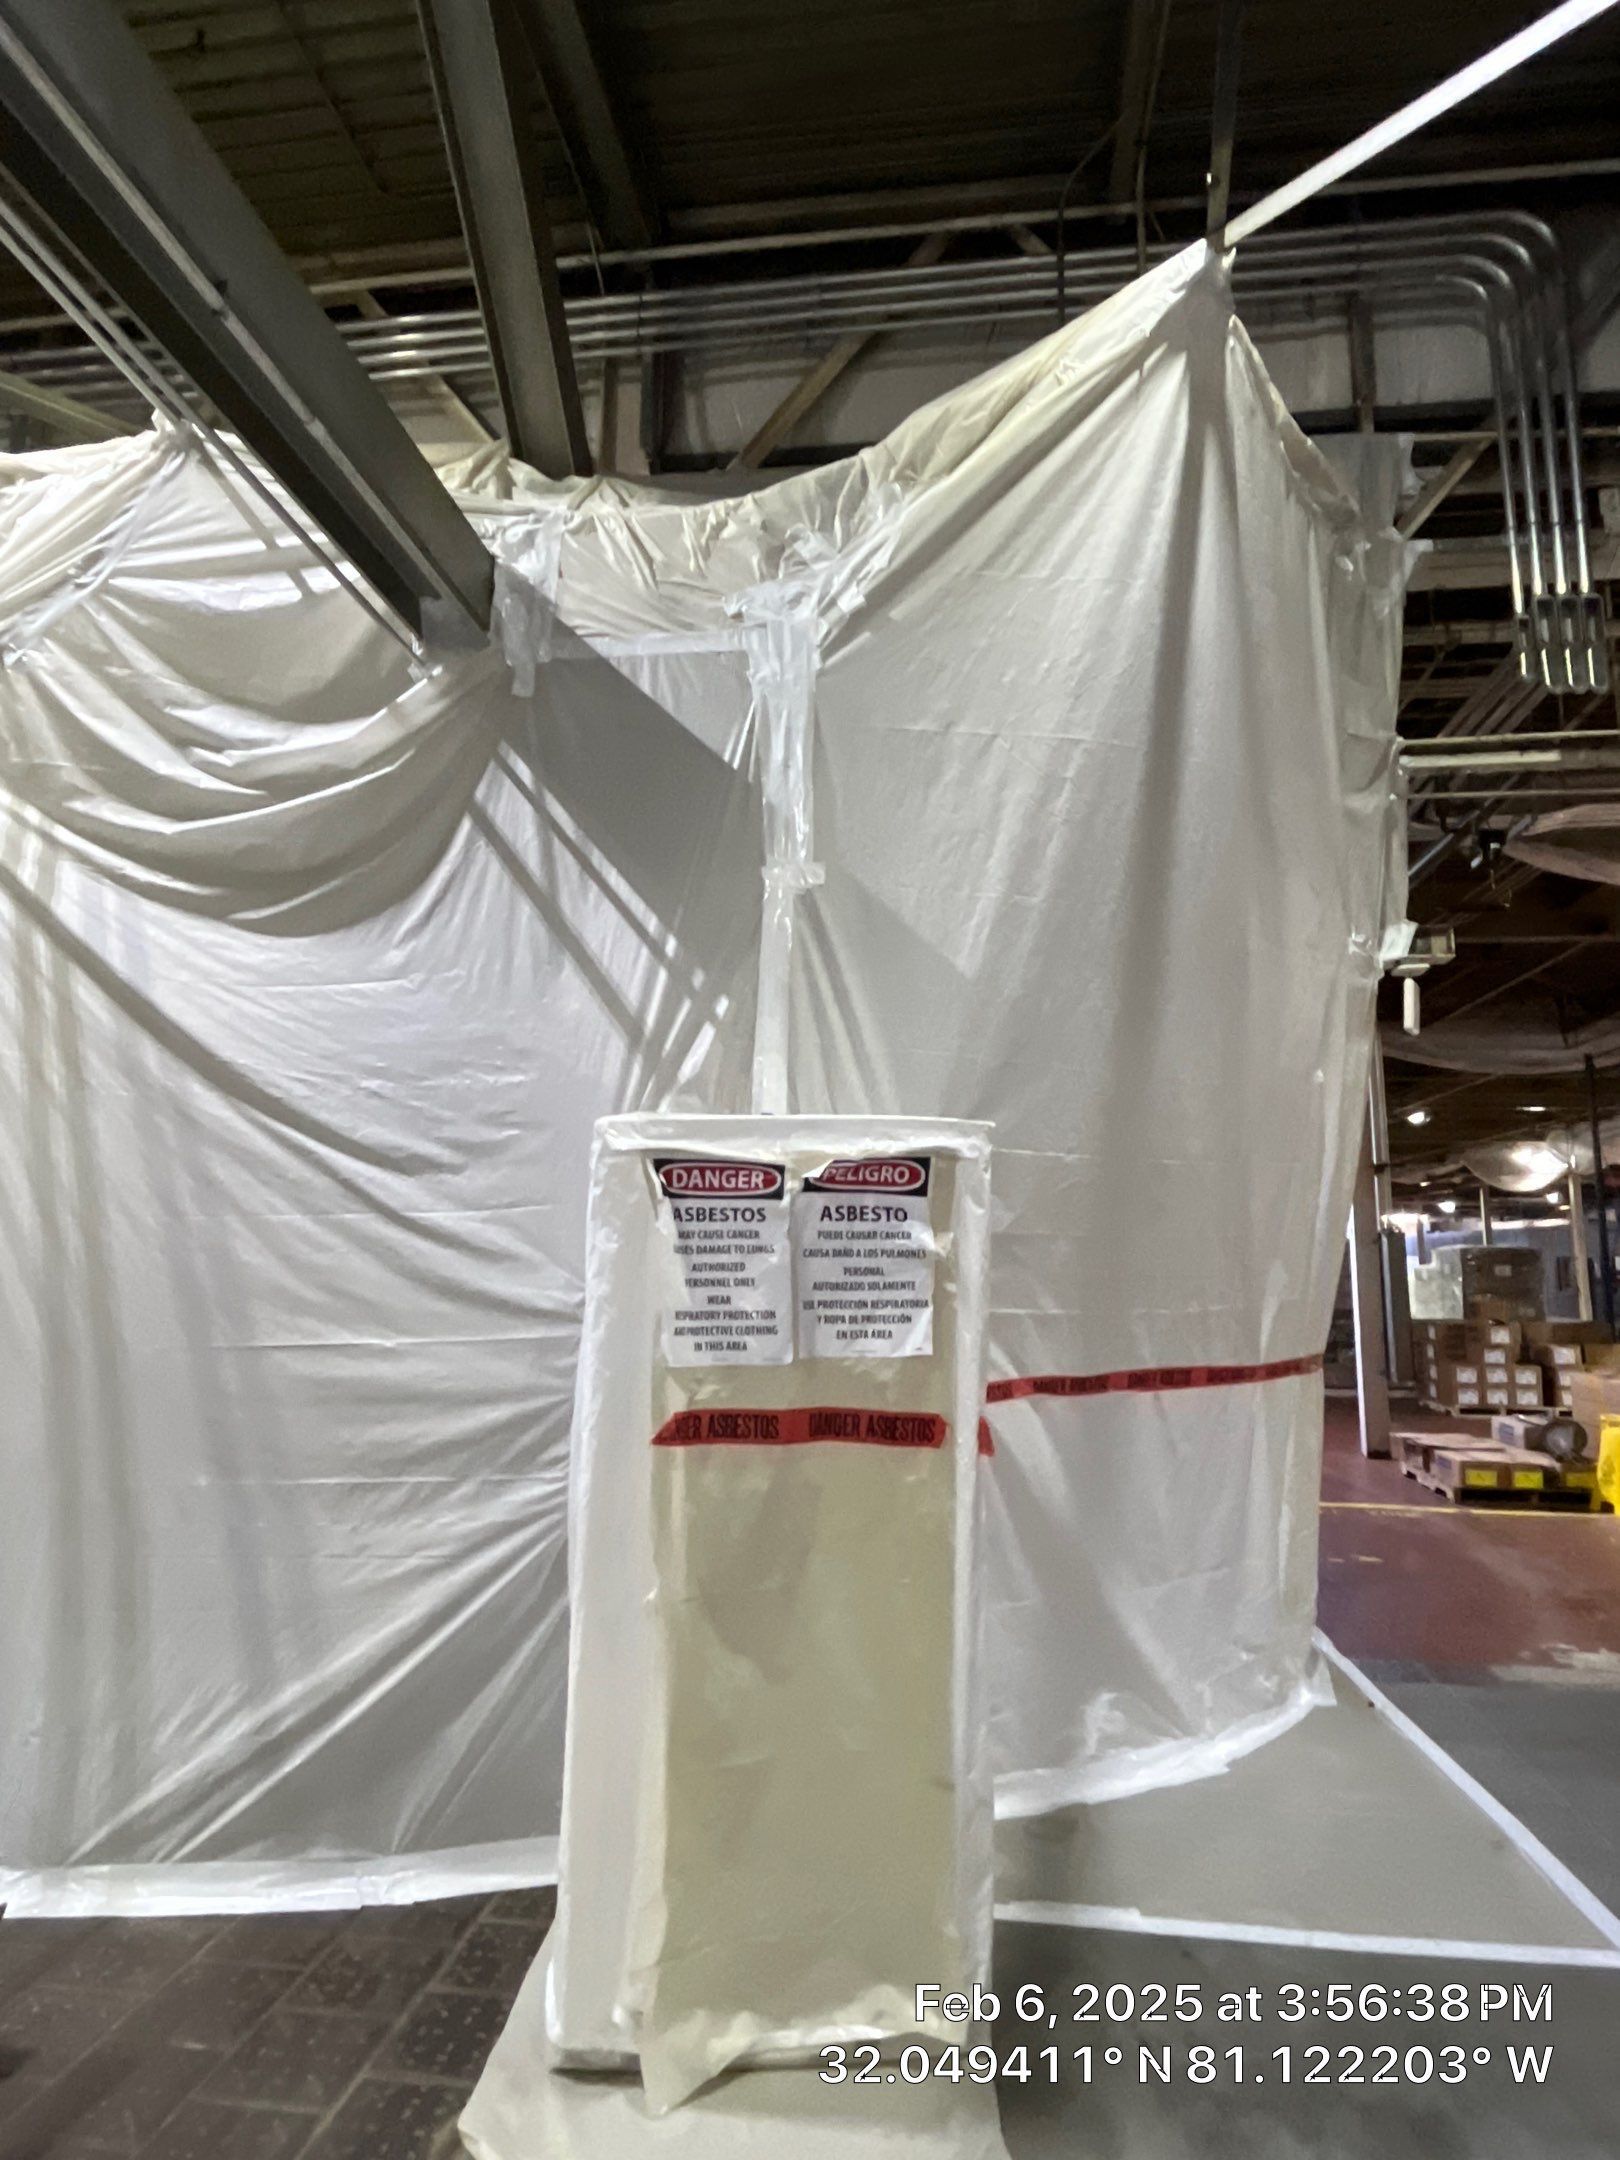
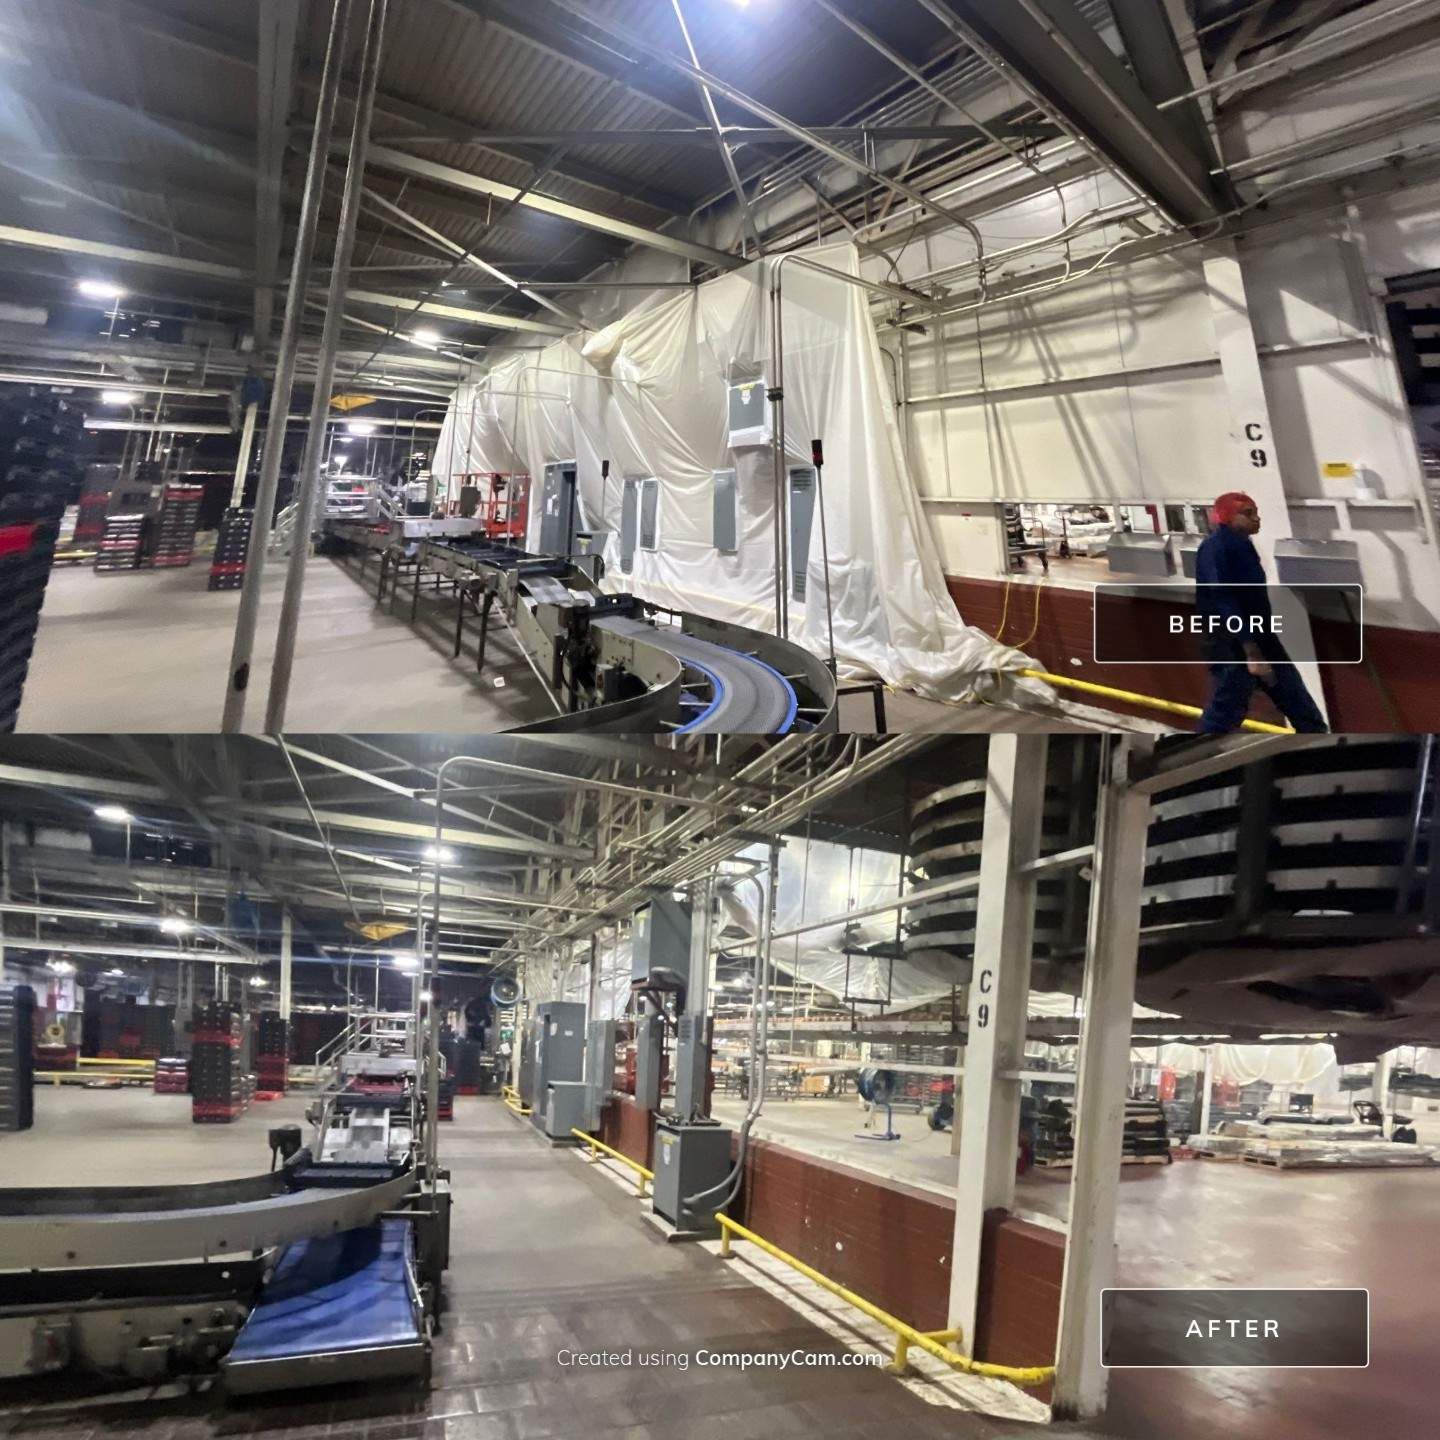
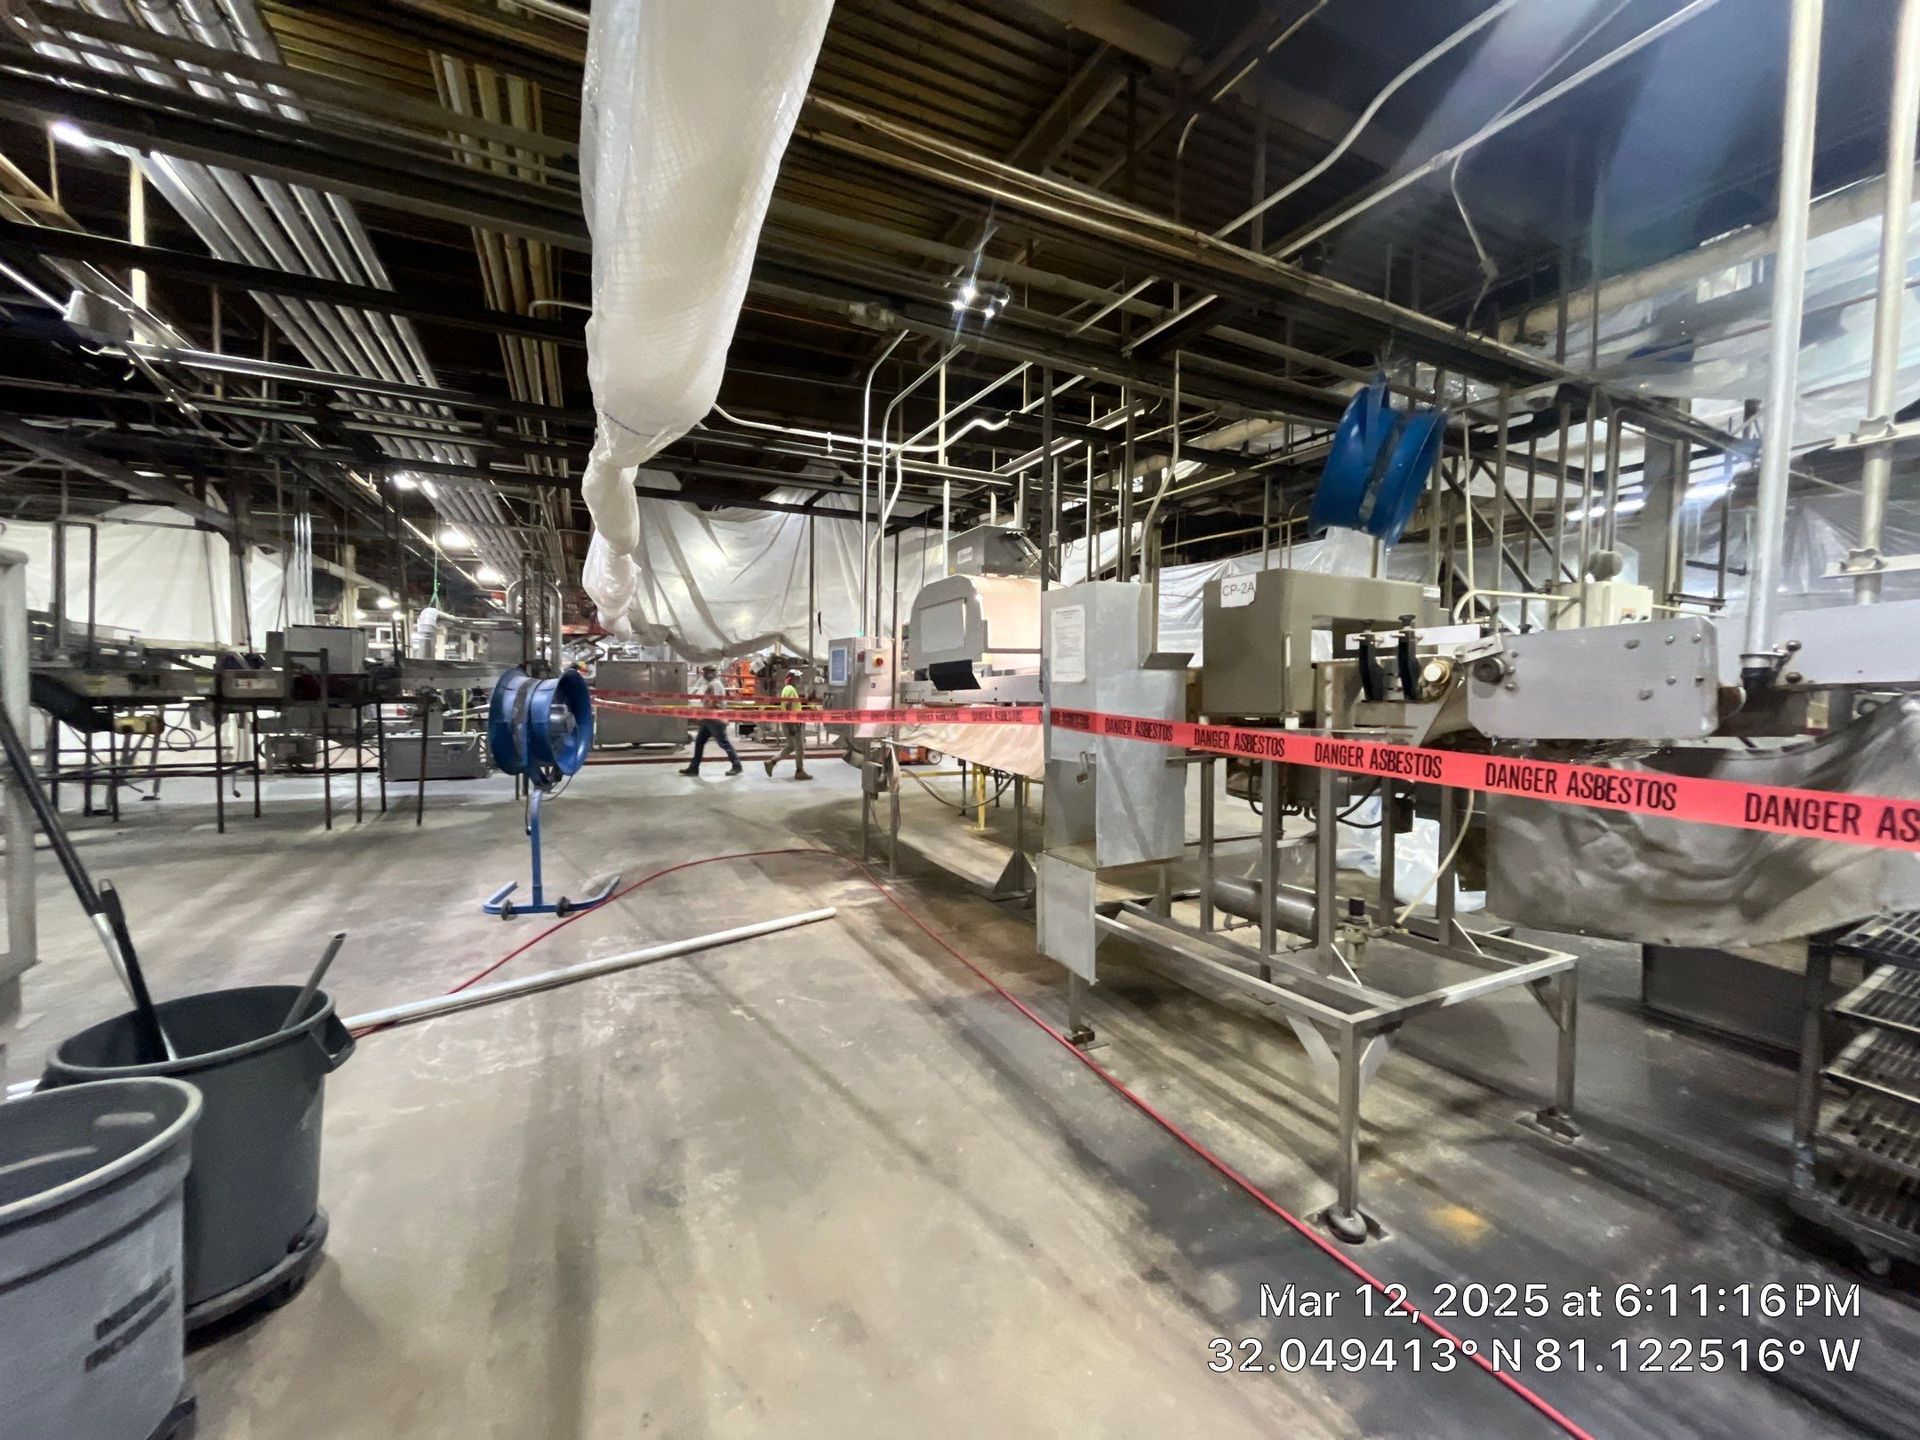
Once we had a clear Work Plan, and our crews had mobilized to the site, the next step was getting the Work Area containment set up properly. This part of the process doesn’t often get much attention — but it is easily one of the most important steps. In order to ensure proper containment, our crews needed to:

  • Established a regulated asbestos work area with warning signage.
  • Shut off and isolated HVAC systems to prevent fiber migration.
  • Installed poly curtain walls and floor protection.
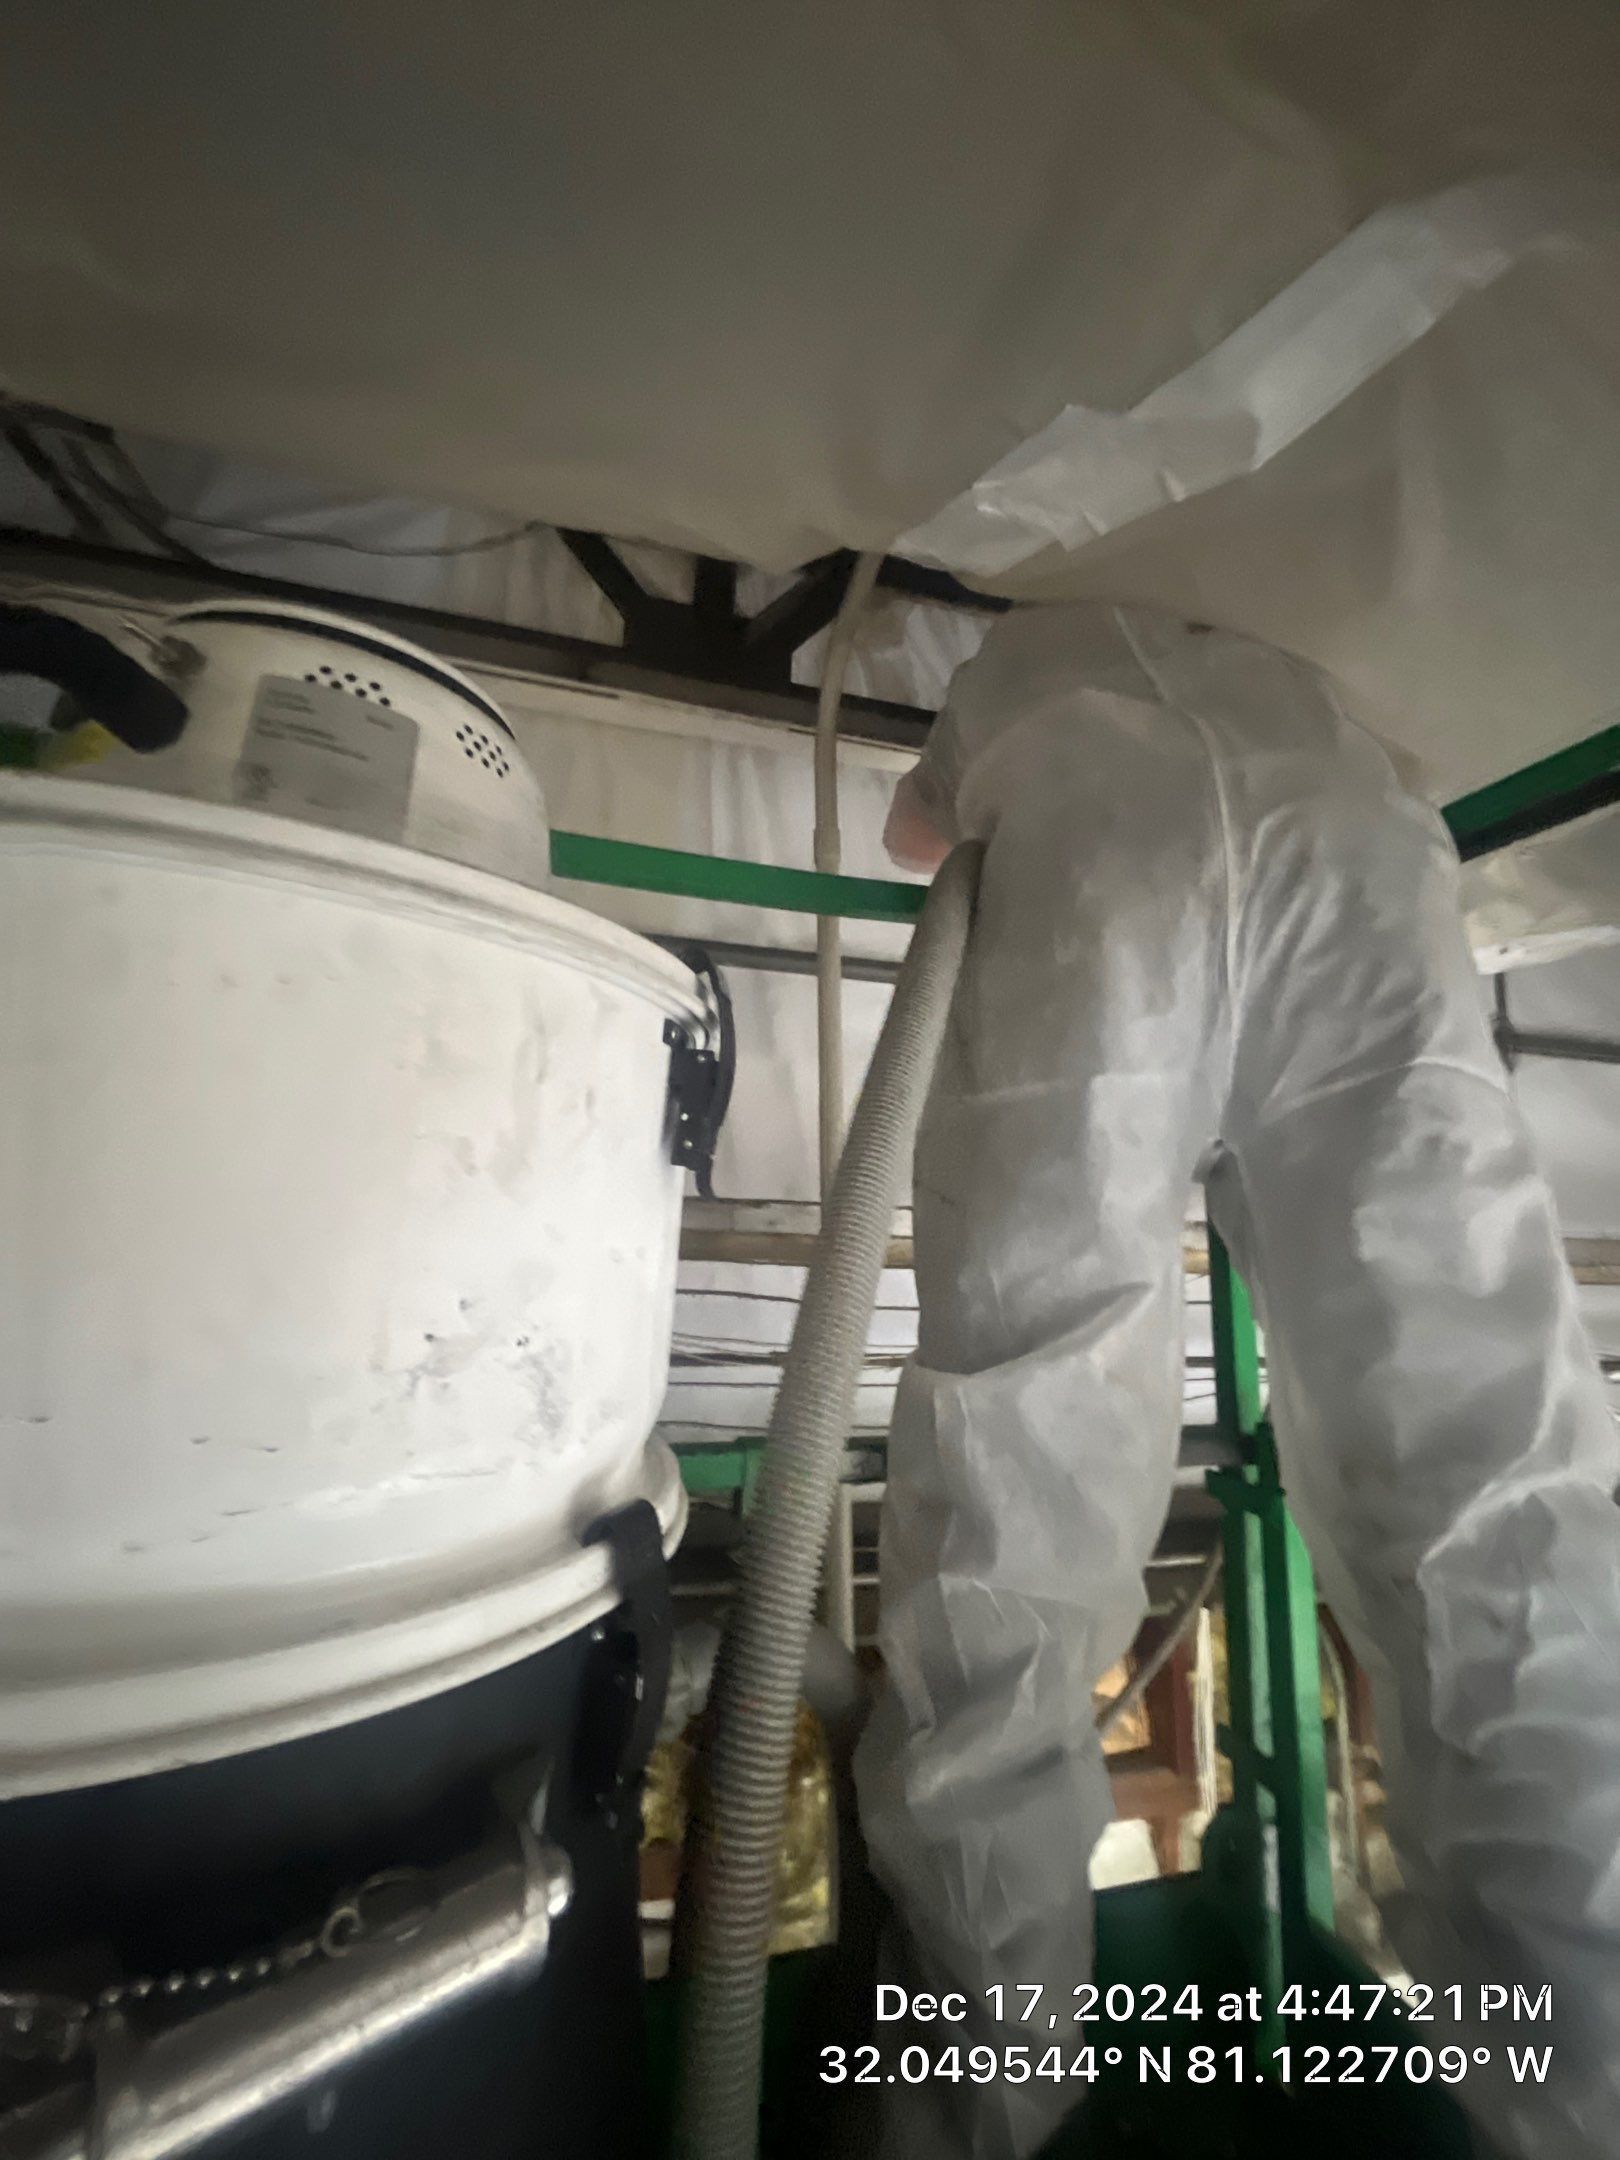
  • Set up air filtration devices and HEPA vacuums.
  • Ensured a certified supervisor (competent person) was on site at all times.

The goal here is simple: control the environment before the work begins.

  • Slide title

    Write your caption here
    Button
  • Slide title

    Write your caption here
    Button
  • Slide title

    Write your caption here
    Button

Step 3: Careful, Controlled Panel Removal

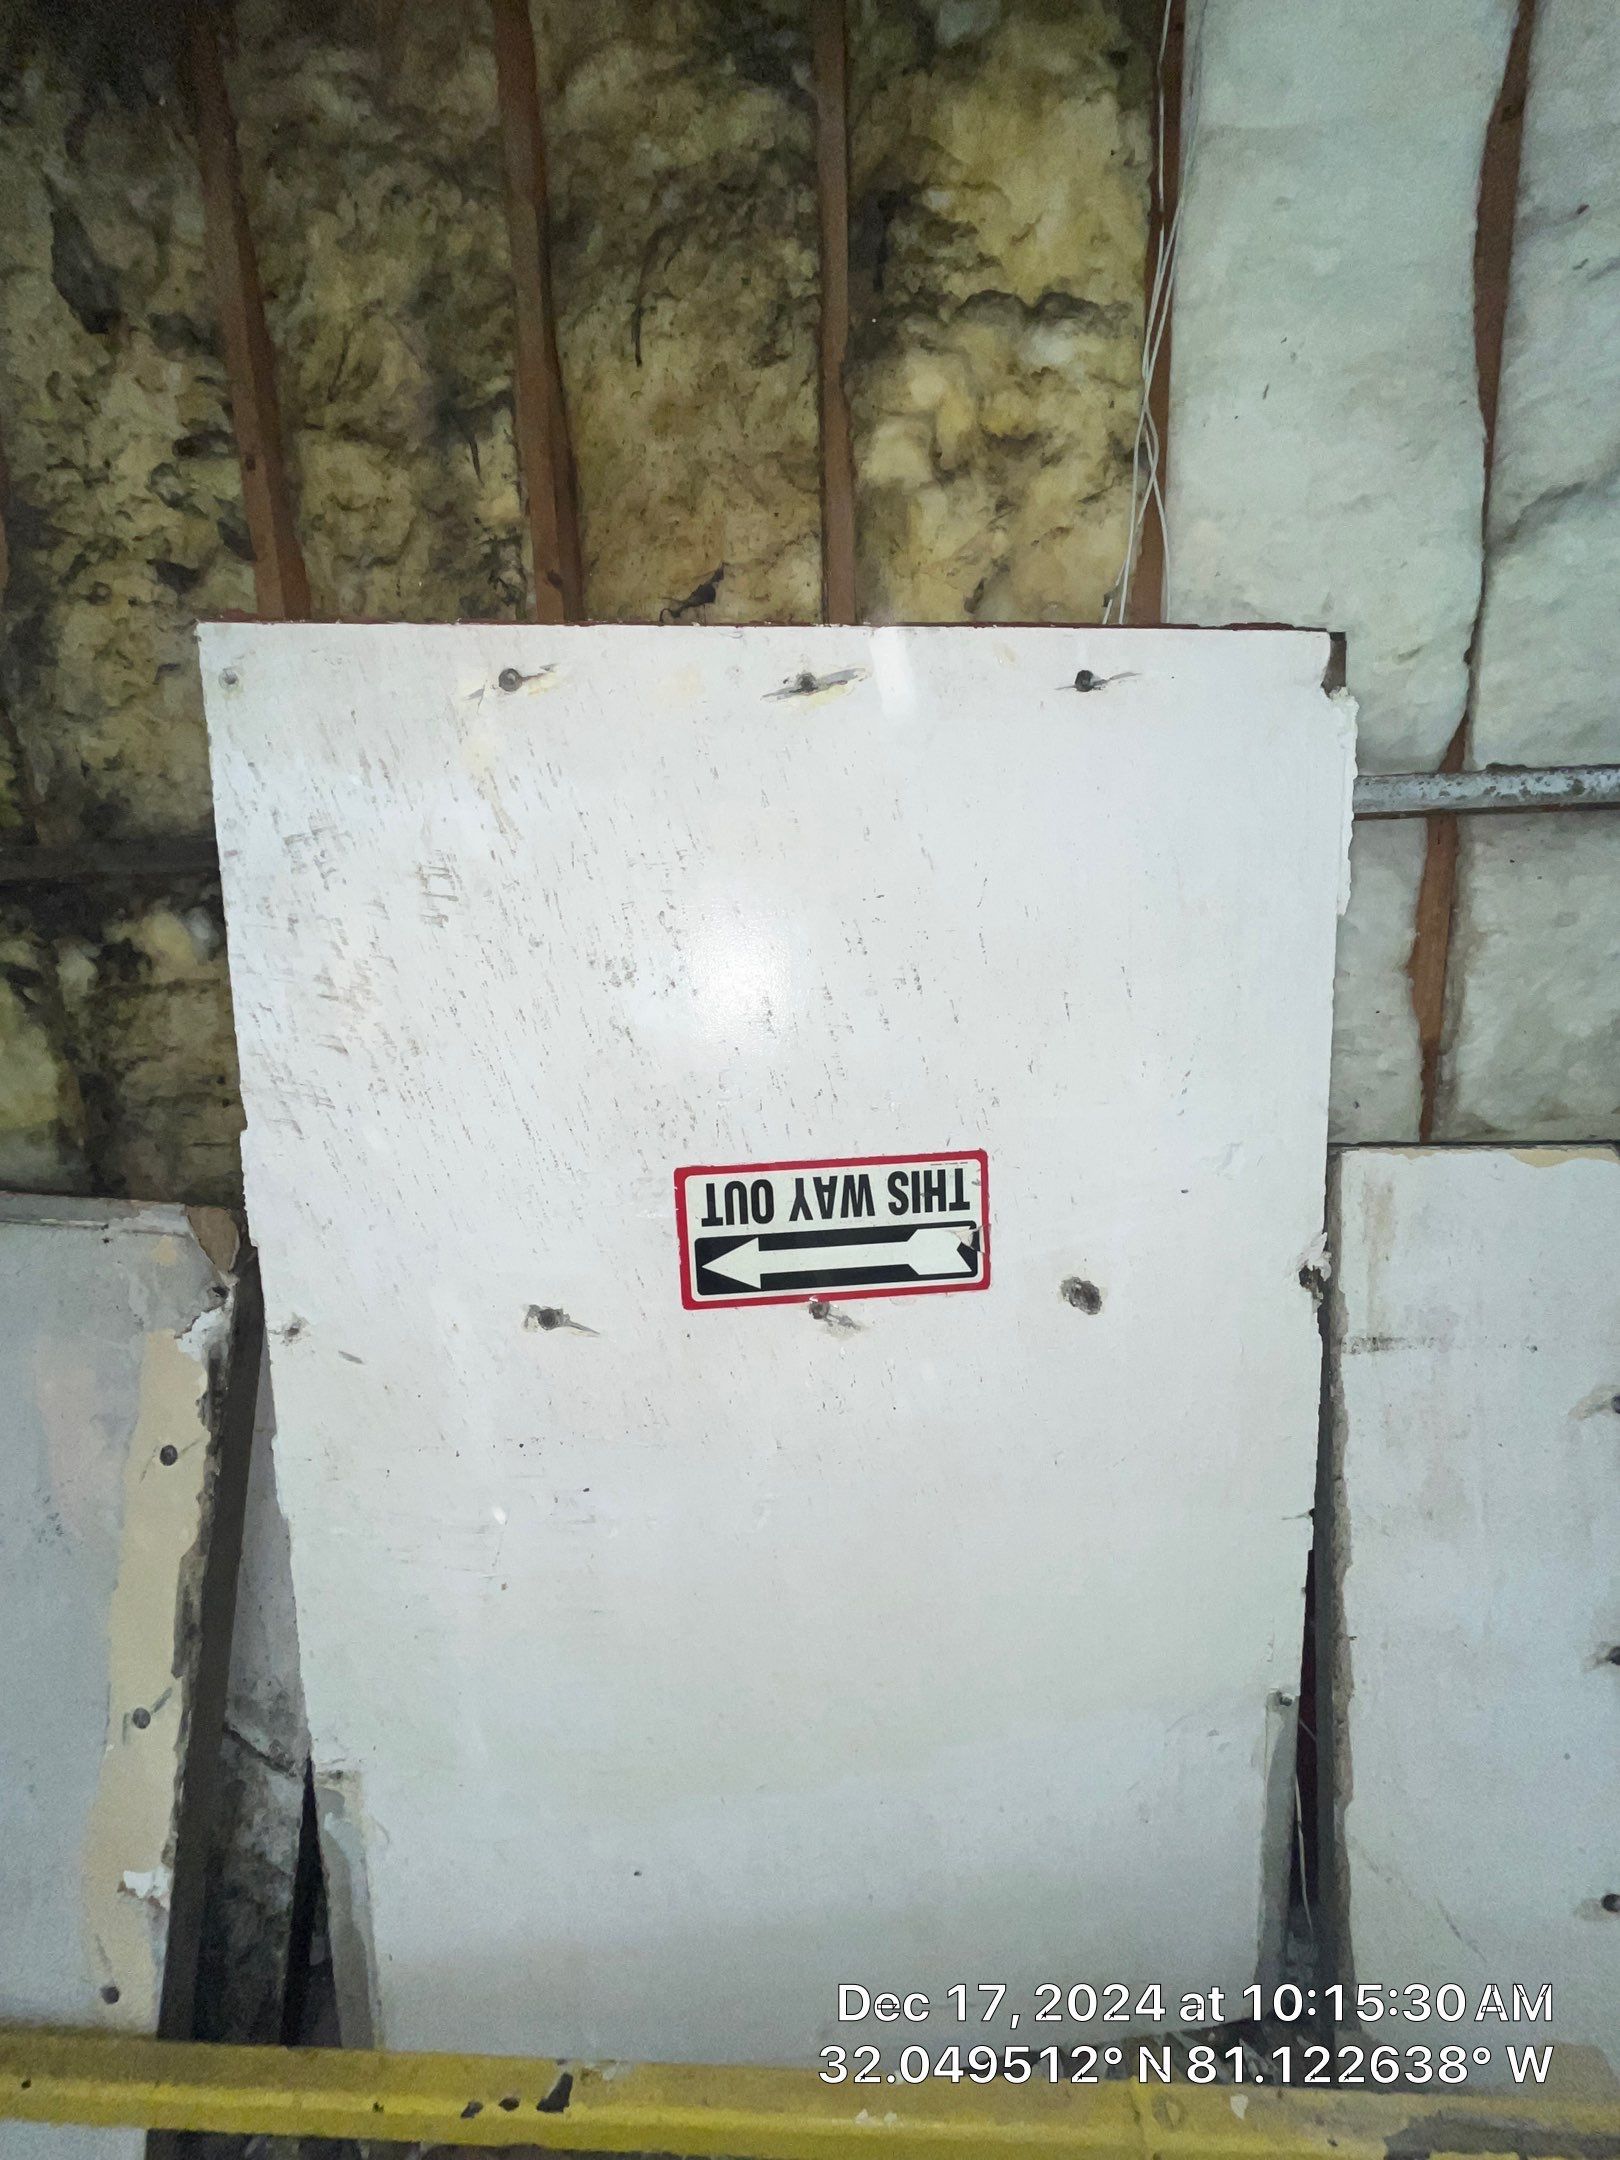
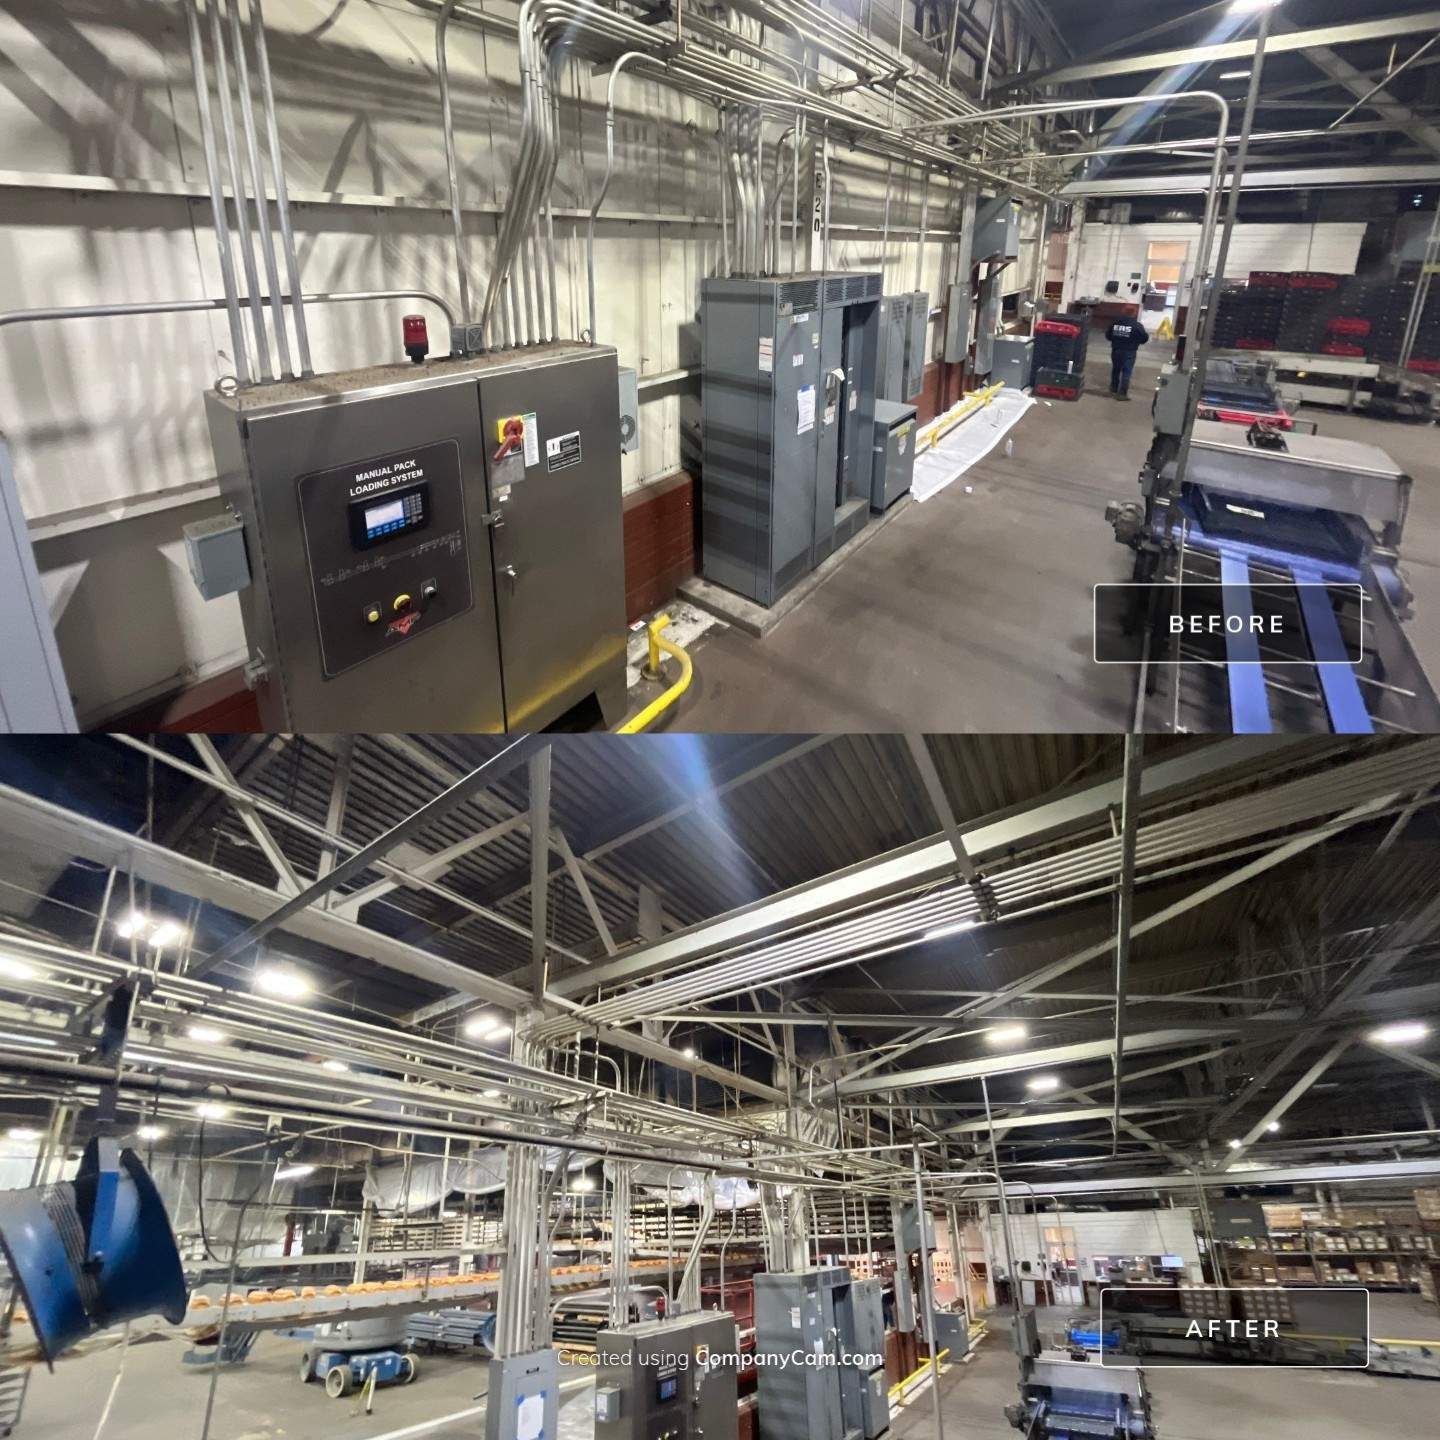
After all of our containment was in place, our technicians suited up in full PPE and began the abatement/removal process. Because the panels were non-friable, our approach focused on keeping the material intact upon removal. Work activities were performed using careful, controlled methods to minimize disturbance and prevent unnecessary breakage:

  • Transite panels were adequately wetted using surfactants.
  • Fasteners were carefully disconnected.
  • Panels were removed whole, not broken apart.
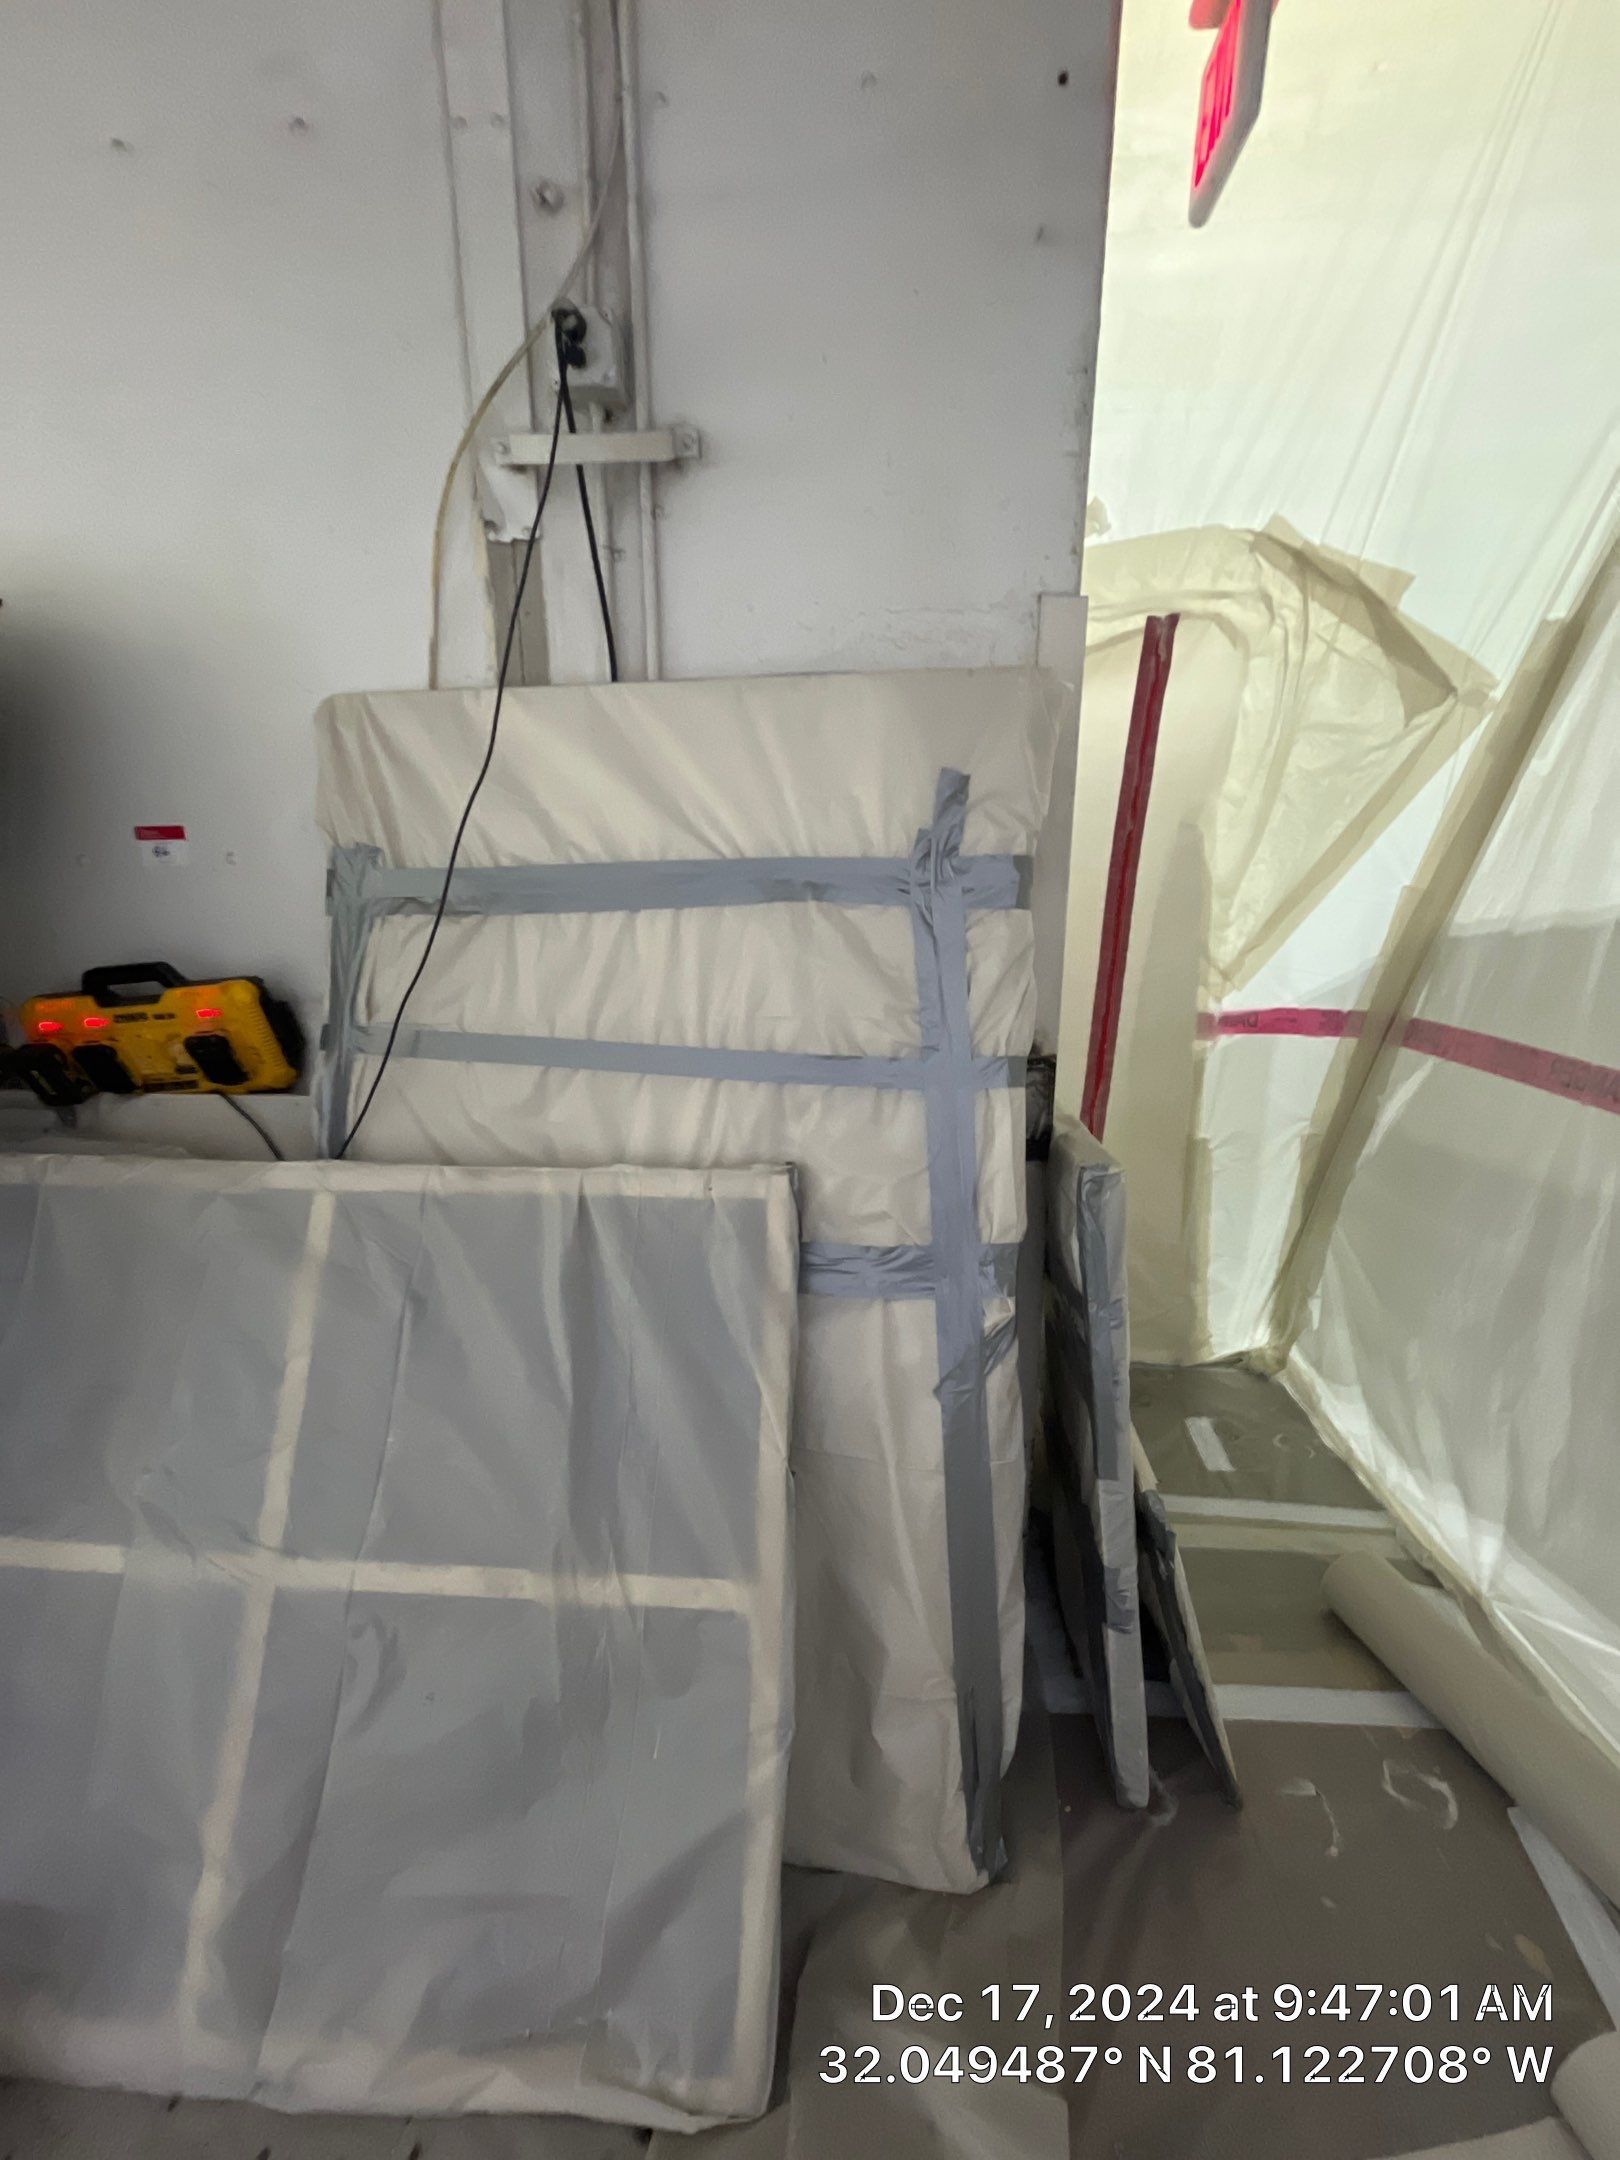
  • Materials remained inside the containment until prepped for disposal.

Every move was deliberate — slow, steady, and controlled. No shortcuts!
  • Slide title

    Write your caption here
    Button
  • Slide title

    Write your caption here
    Button

Step 4: Cleanup, Encapsulation, and Waste Handling


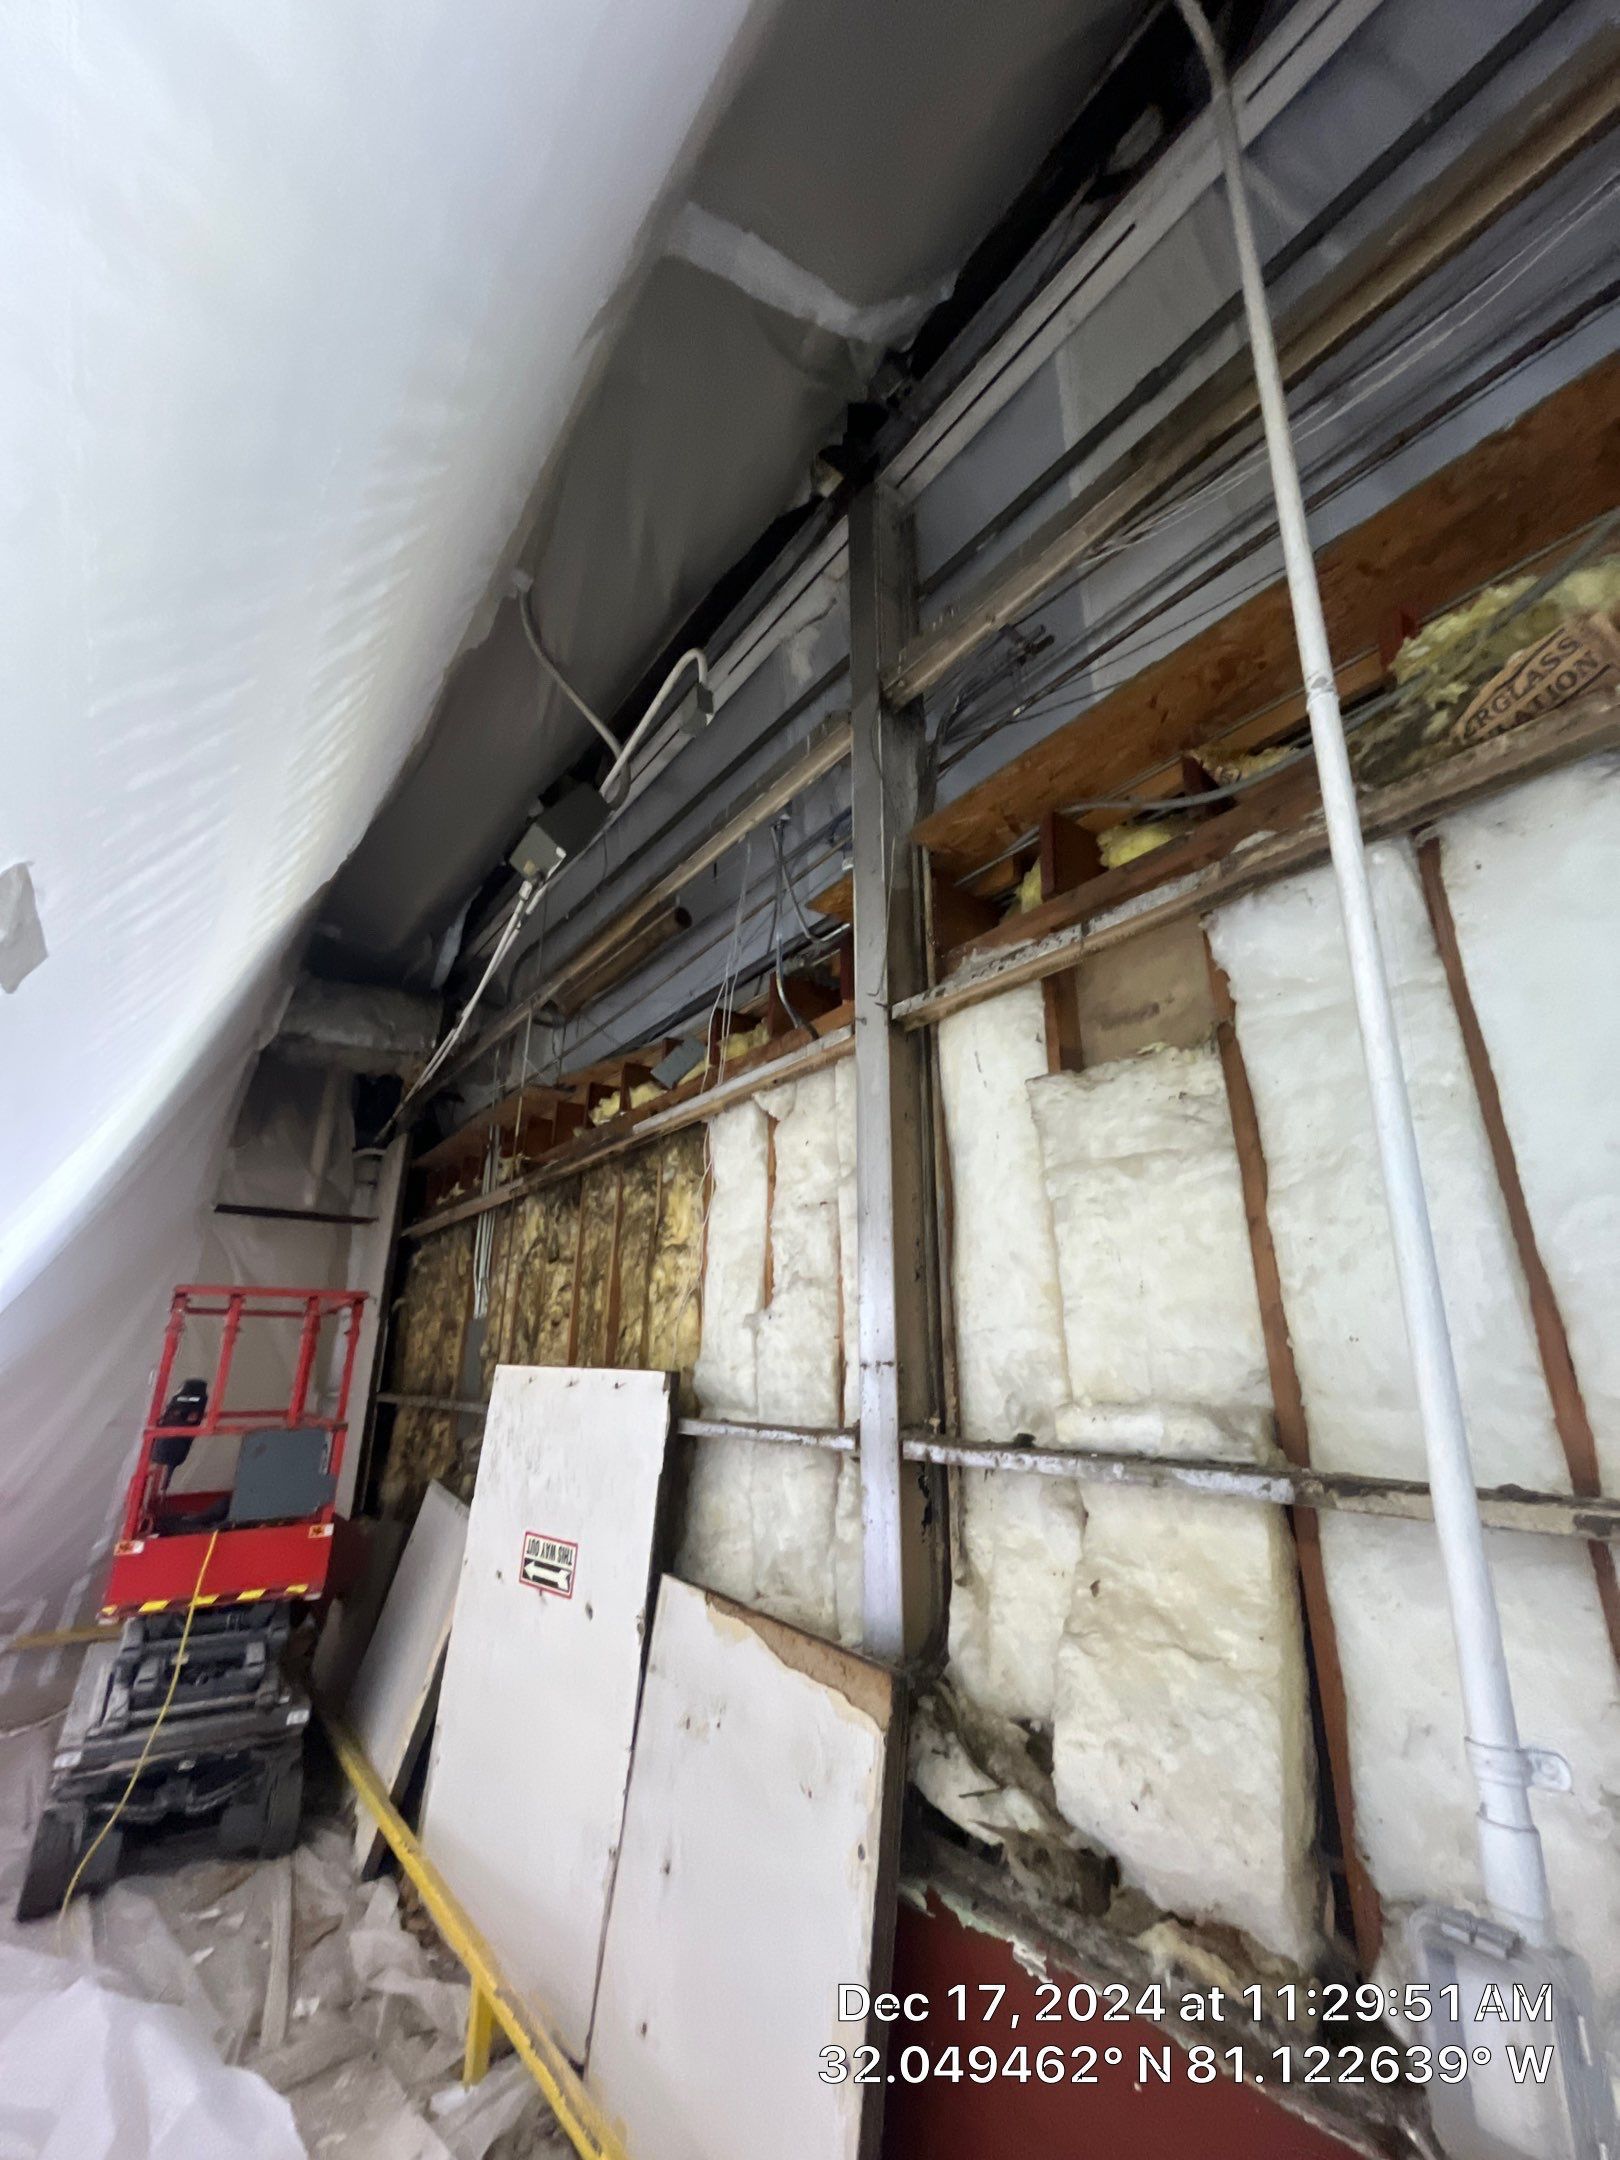
Once the panels were removed, the work was not completed yet. Even with non-friable abatement methods, it is extremely important that our crews make certain that no residuals are left behind:

  • Cleaned the work area thoroughly using HEPA vacuums.
  • Removed any residual material.
  • Applied a lockdown fiber encapsulant to affected surfaces.
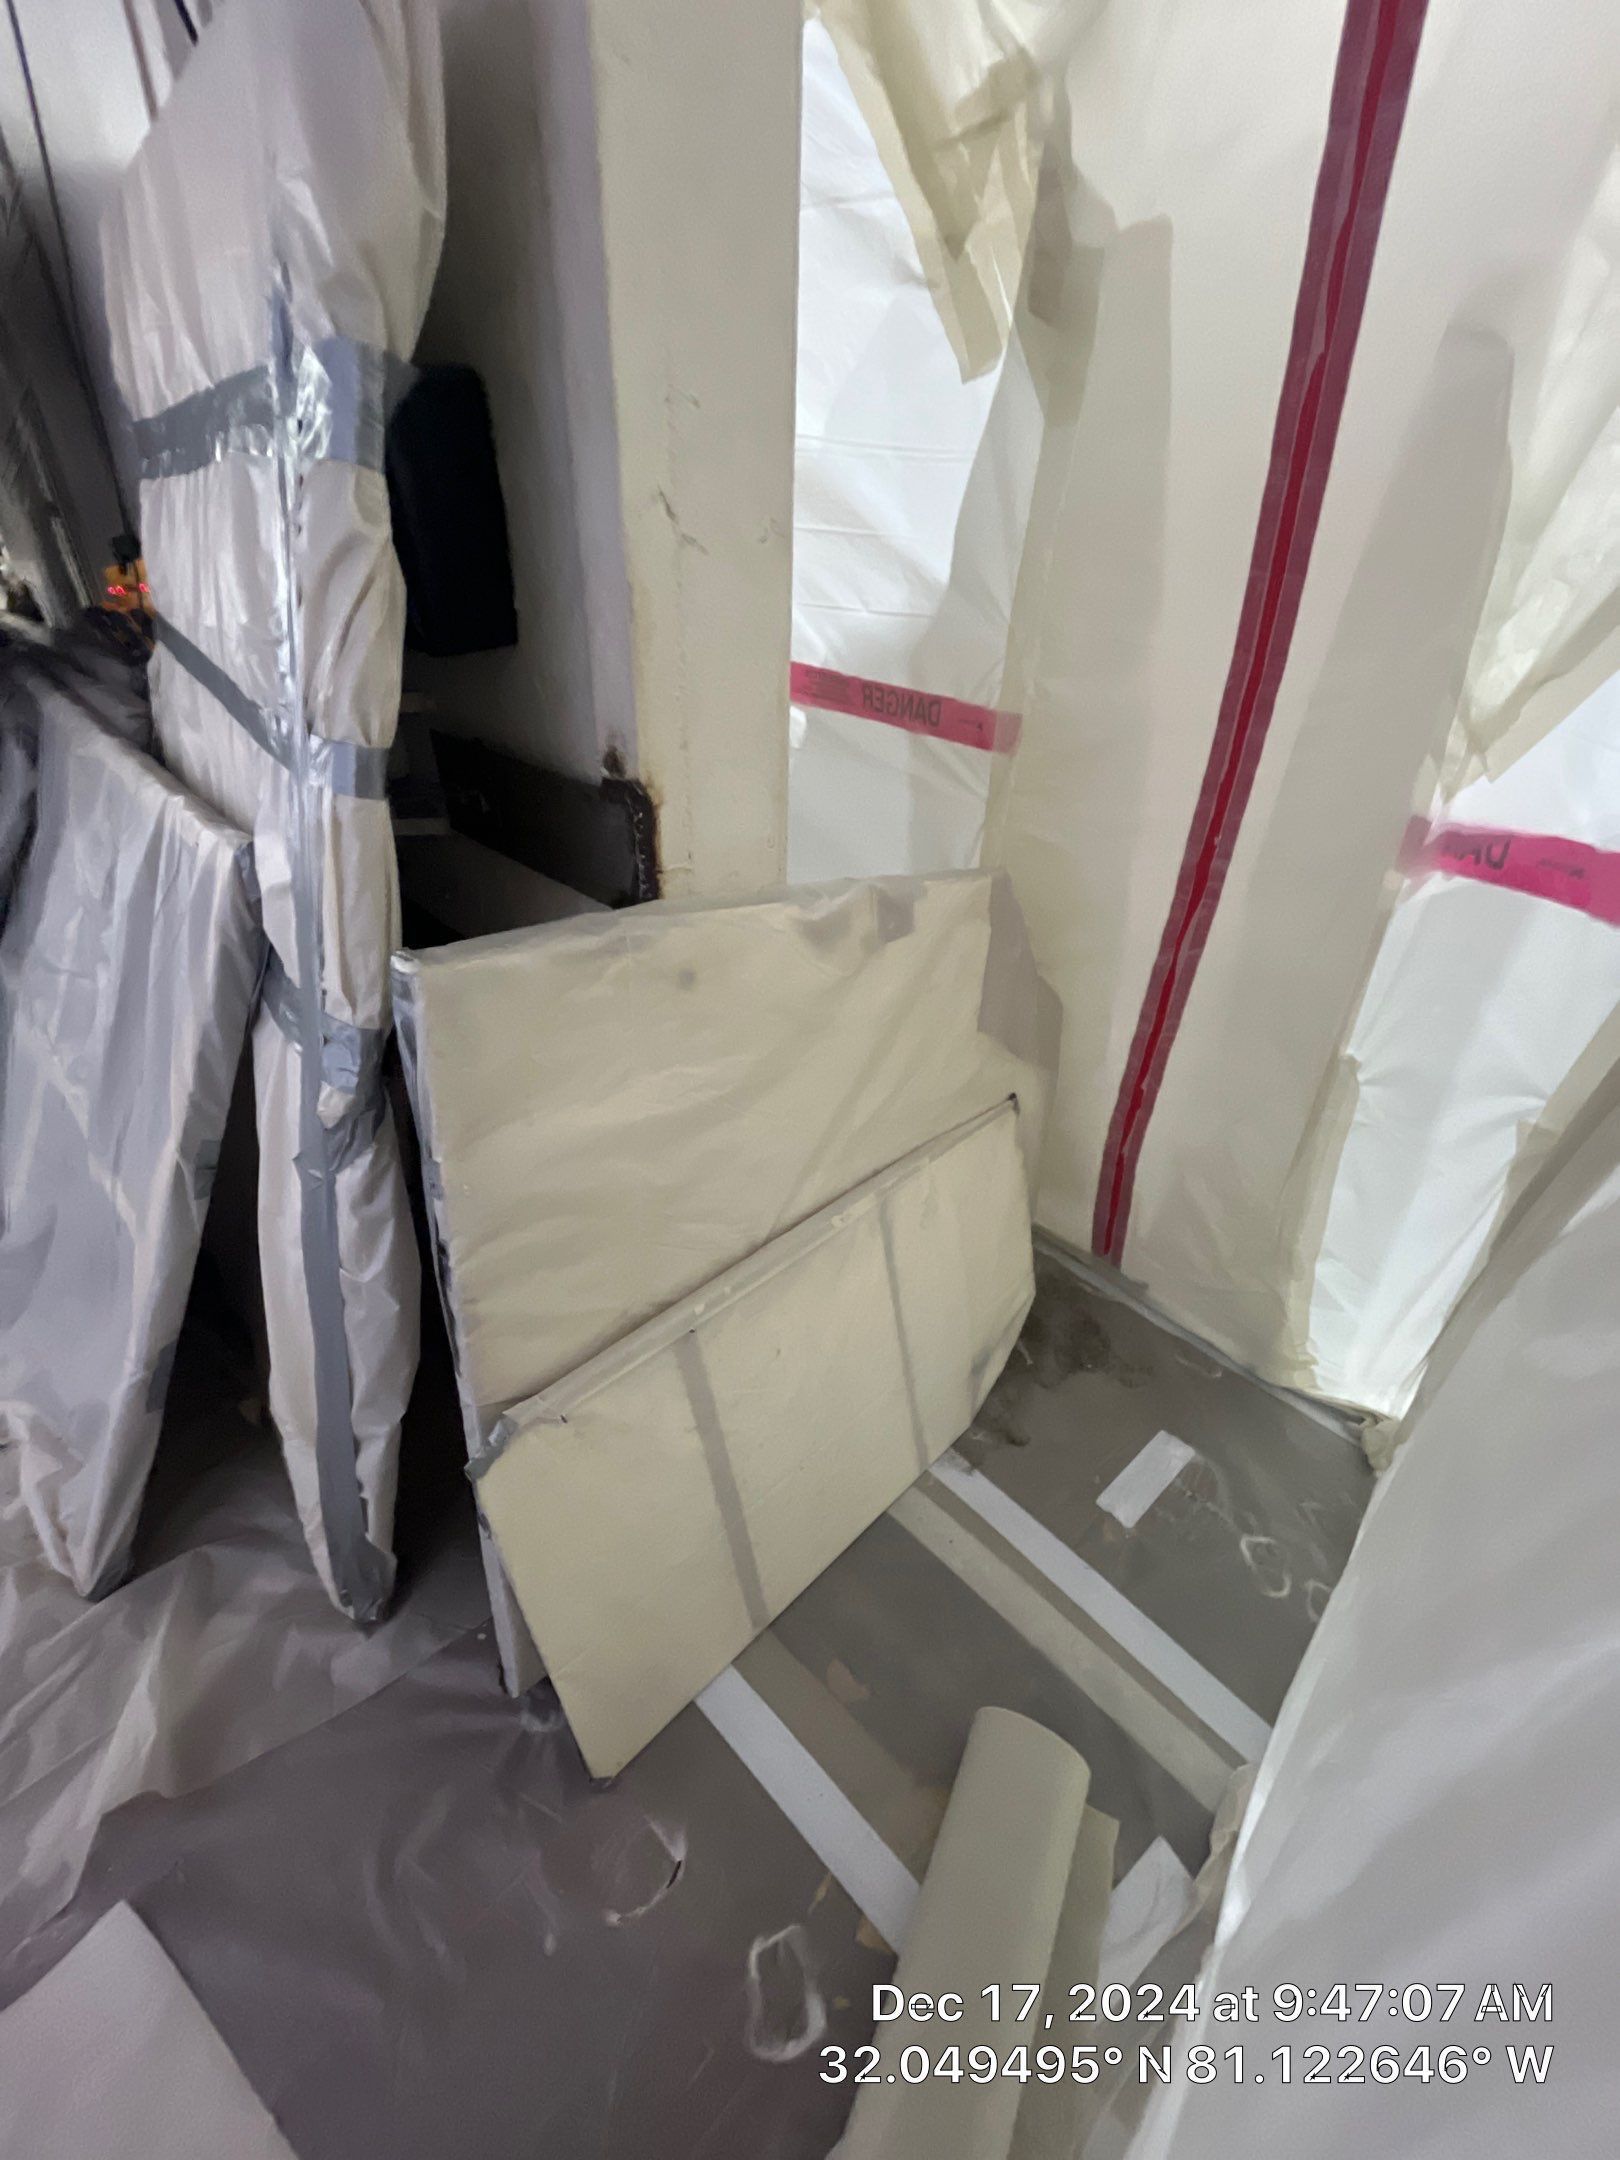
  • Packaged all asbestos-containing materials in lined containers or double-wrapped poly.
  • All waste was properly labeled, logged, and transferred to a secured EAS Environmental work trailer for approved disposal.
Step 5: Final Inspection and Close-Out

Before the site could be cleared, there are a multitude of compliance standards and clearances that need to pass:

  • A detailed visual inspection by a competent person (site supervisor).
  • Coordination with air monitoring professionals for both air sampling & visual clearances.
  • Final jobsite cleanup.
  • Completion of all required documentation and waste manifests.

Only after everything met safety and compliance standards did we consider the project complete.
  • Slide title

    Write your caption here
    Button
  • Slide title

    Write your caption here
    Button
  • Slide title

    Write your caption here
    Button
  • Slide title

    Write your caption here
    Button

Why This Approach Matters

Asbestos abatement isn’t just about removing the material — it’s about protecting people. Our job is to make sure building occupants, workers, and the surrounding environment remain safe throughout the entire process.

This project reflects how we approach every abatement job:
✔ Detailed planning
✔ Trained & certified crews
✔ Strict safety controls & removal methods
✔ Clear documentation
✔ No cutting corners


A Team You Can Trust

We’re proud of the professionalism our team brought to this project, and we are extremely grateful to the company for trusting us with this important work. At EAS Environmental, we believe doing the job right is the only way to do it — especially when health and safety are involved.

Need Help with Asbestos or Environmental Concerns?

If your building contains asbestos-containing materials — or if you’re not sure — early assessment and proper planning are critical.

📞 Call EAS Environmental: 843-977-EASE
🌐
Visit: www.easenvironmental.com

We’re here to help you navigate complex environmental challenges safely, responsibly, and with confidence.


Telephone receiver with a speech bubble containing three dots.

Contact EAS Environmental Today!

EAS Environmental will do everything we can to ensure your experience with us is excellent.

CALL US NOW

Request A FREE Estimate

Request a Free Estimate Form

Checkout Recent Post
By Spencer Turner July 23, 2026
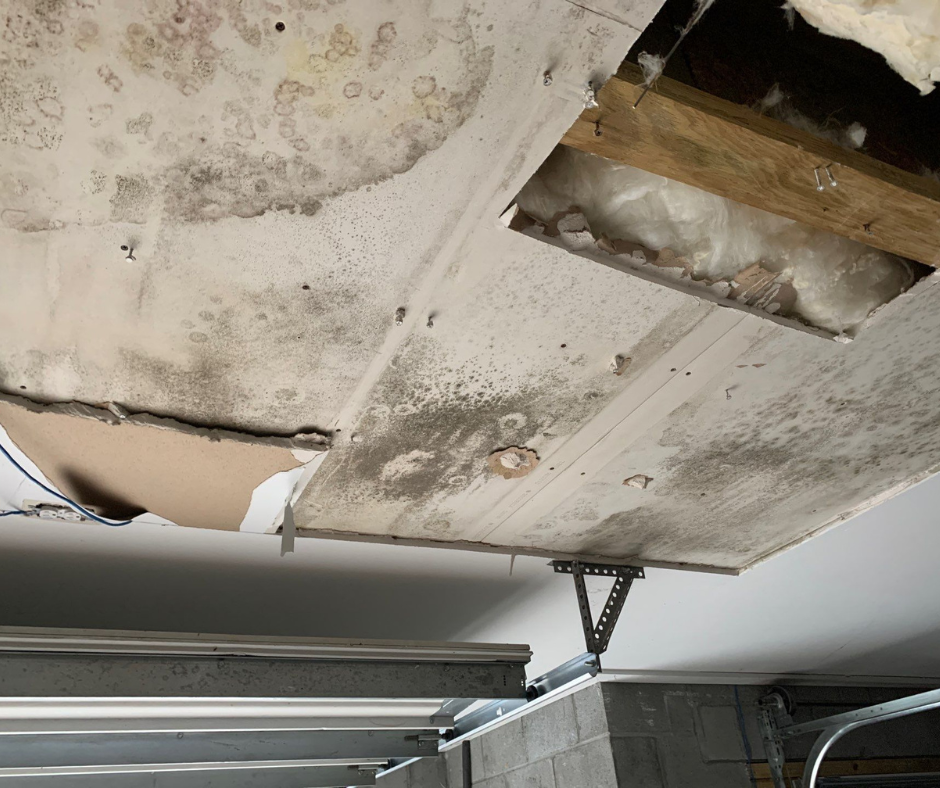
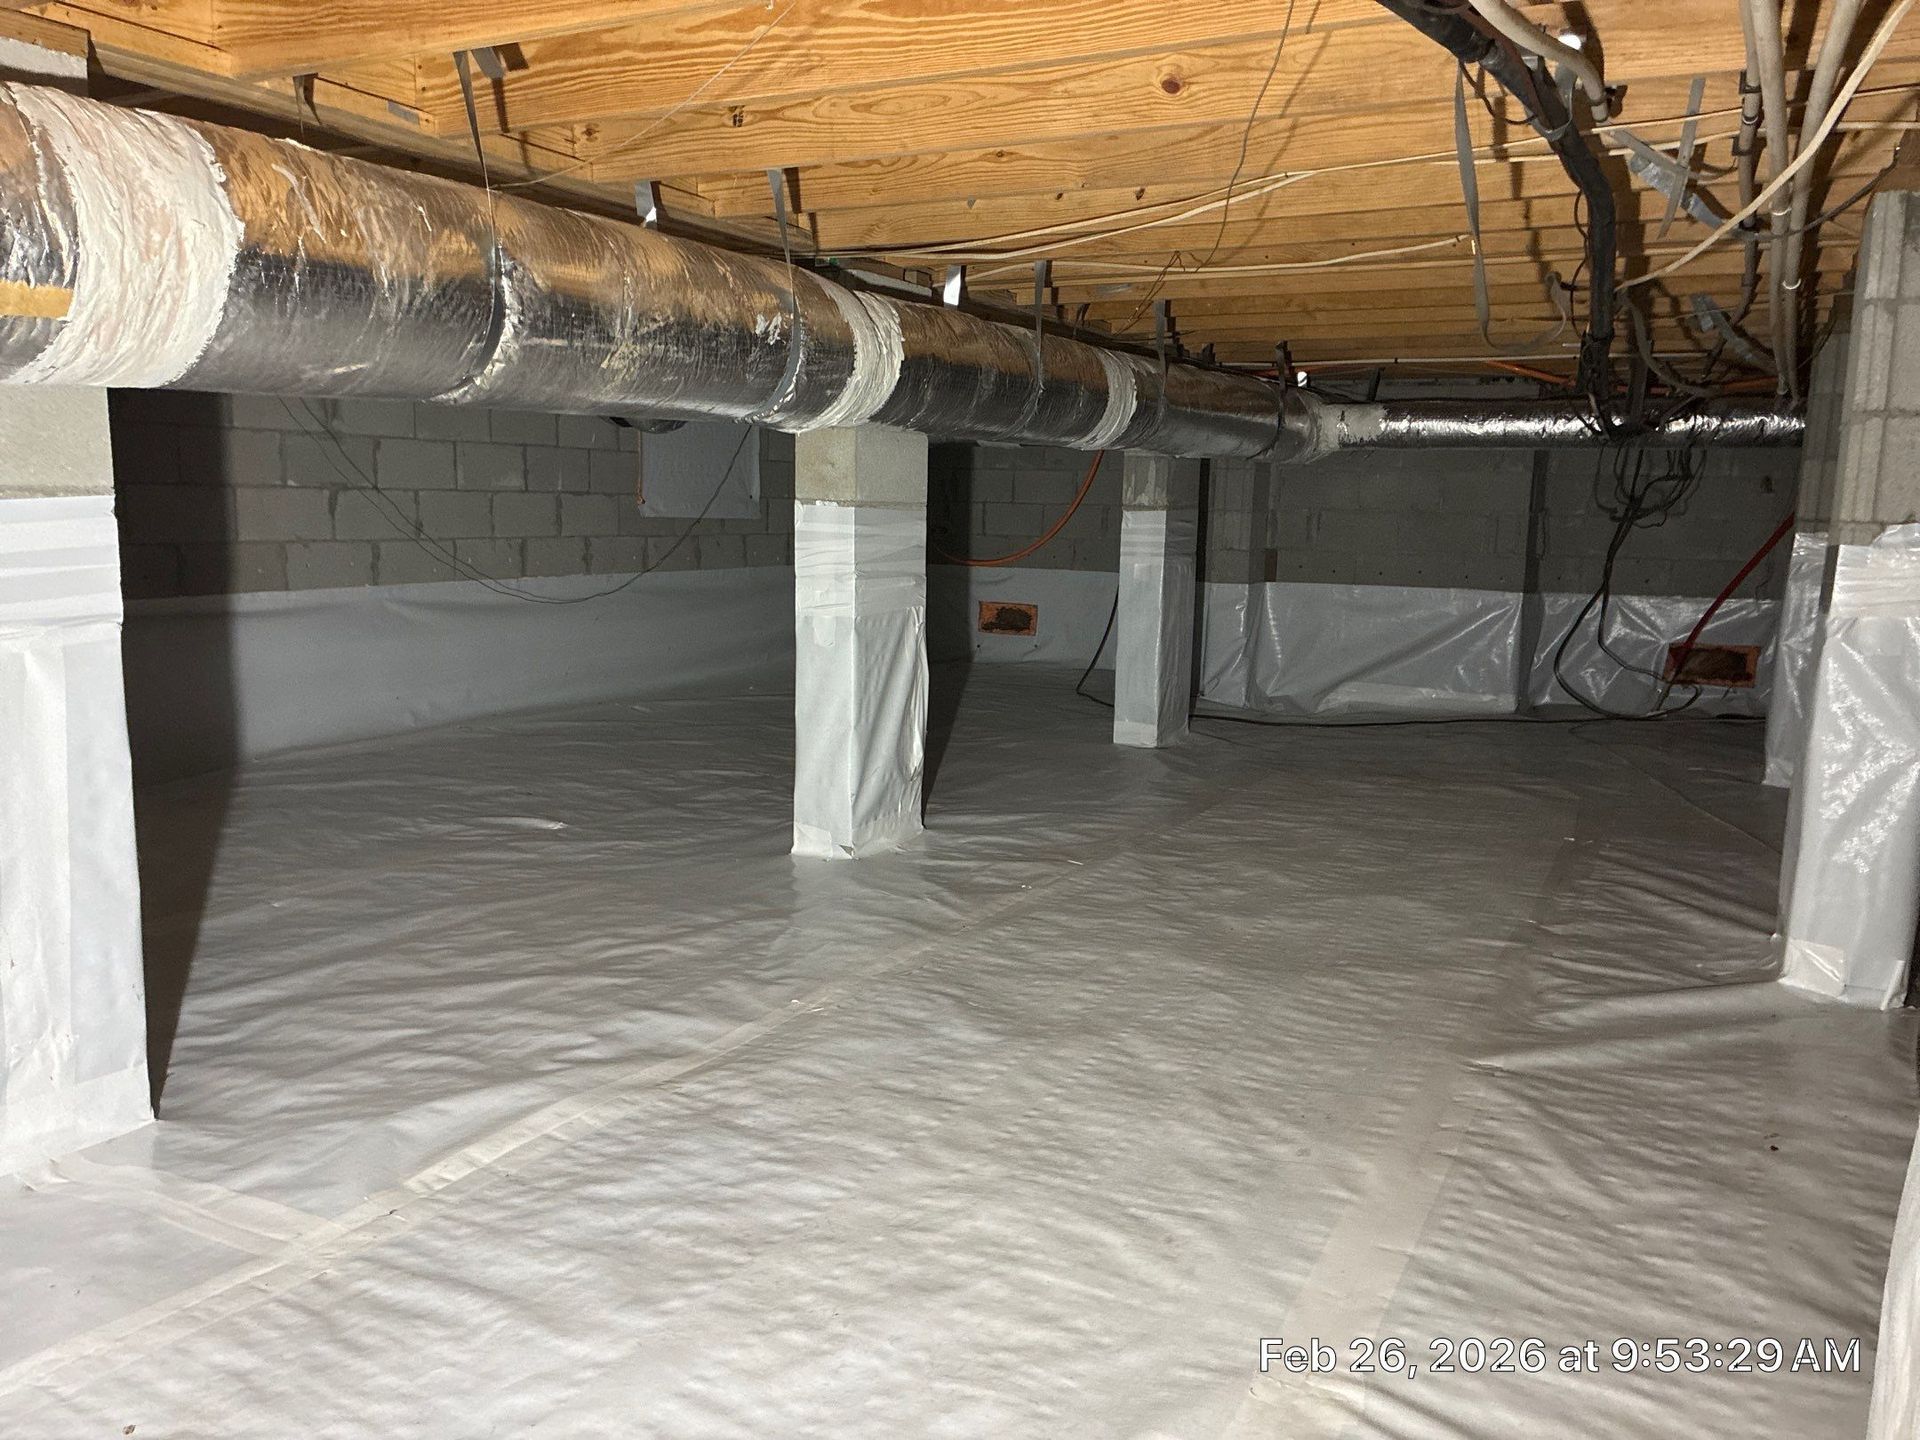
If you've discovered mold in your crawlspace, you may wonder whether it can affect the air quality inside your home. In many cases, YES - it can . Many homes naturally move air from the crawlspace into the living areas through a process commonly referred to as the stack effect . As warm air rises and exits the upper portions of a home, it can draw air upward from the crawlspace. If mold growth or excessive moisture is present beneath the home, mold spores, elevated humidity, and musty odors may enter the living space and contribute to indoor air quality concerns. Signs Your Crawlspace May Have a Moisture or Mold Problem While these signs do not necessarily confirm the presence of mold, they may indicate excess moisture or conditions that support microbial growth: Persistent musty odors inside the home Sustained elevated indoor humidity (greater than 60% Relative Humidity) Visible mold or mold/water staining near floor vents, baseboards, or crawlspace framing Damp, fallen, or deteriorated insulation Condensation or standing water beneath the home A professional inspection is the best way to determine the cause and extent of the problem. Why Does Mold Grow in Crawlspaces? Mold requires moisture to grow. Common sources of moisture include: Poor site drainage around the foundation Plumbing leaks Sustained high relative humidity (over 60%) Ground moisture or standing water Inadequate vapor barriers or moisture control systems Improper crawlspace ventilation Unless the moisture source is corrected, mold growth may continue or reoccur after remediation. Why Moisture Control Matters Effective mold remediation involves more than removing visible growth. Source removal is required in two ways. 1) the water source must be mitigated or removed (overflow, pipe leak/break, or high relative humidity), and 2) the mold spores (source of contamination) must be completely removed. Industry standards emphasize identifying and correcting the underlying moisture source before remediation, as to not promote recurrence. Addressing moisture helps reduce the likelihood of recurring mold growth and supports long-term crawlspace stability. Depending on the property's conditions, solutions may include plumbing repairs, drainage improvements, vapor barriers, crawlspace encapsulation (with dehumidification), or other moisture control measures. When Should You Have Your Crawlspace Inspected? Consider scheduling a professional crawlspace inspection if you notice: Persistent musty odors Visible mold or suspected microbial growth Water intrusion or standing water High indoor relative humidity Signs of moisture damage beneath the home Concerns about the condition of your crawlspace following heavy rain or plumbing leaks A qualified inspection can help determine whether moisture or mold is present and identify the most appropriate corrective measures. How EAS Environmental Can Help EAS Environmental provides the most detailed and well documented (photos, videos, and field notes) professional crawlspace inspections, mold remediation, moisture control, and crawlspace encapsulation services. Our team focuses on identifying the source of moisture, developing an appropriate repair plan, mitigation plan, and/or remediation plan, and helping property owners restore crawlspace conditions using industry-recognized restoration practices. If you're experiencing musty odors, moisture issues, or suspect mold beneath your home, contact EAS Environmental to schedule a professional assessment.
Mold
By Spencer Turner April 8, 2026
Water damage can happen unexpectedly—from burst pipes and leaking appliances, to severe storms and flooding. While the immediate concern is often structural damage, another serious issue can develop quickly: mold growth. Many property owners are surprised to learn just how fast mold can begin to grow after water exposure. Understanding the timeline of mold growth and the importance of quick action can help protect both your property and your health. How Quickly Can Mold Grow After Water Damage? Mold can begin growing within 24 to 48 hours after water damage occurs. When moisture is present and the environment is warm and humid, mold spores—which naturally exist in the air—can quickly settle and begin to grow on damp surfaces. The mold growth timeline typically looks like this: First 24 Hours Materials such as drywall, wood, carpet, and insulation begin absorbing moisture. Mold spores may settle in damp areas. 24–48 Hours Mold colonies can begin forming. Musty odors may start to develop. Materials begin to swell, warp, or lose integrity. 48–72 Hours Mold growth becomes more visible. Spores begin spreading to nearby surfaces. Air quality begins to noticeably decline. Certain materials may no longer be salvageable. 3–7 Days Mold colonies expand rapidly. Structural materials may begin deteriorating. Strong, persistent odors develop throughout the space. Contamination can spread into HVAC systems. Because of this rapid growth timeline, immediate water extraction and drying are critical to prevent further damage, limit mold development, and improve the chances of salvaging affected materials.
By Spencer Turner December 2, 2025
In today’s world, we believe that true success comes from more than just business growth — it’s about giving back and making a real difference where we live and work. At EAS Environmental LLC, we’re proud to be a full-service disaster restoration and environmental remediation company based in the Charleston, South Carolina region. While our work focuses on restoration, abatement, and remediation, our mission goes far beyond that. Every project we take on is driven by a deeper purpose: to help build safer, healthier environments for our neighbors, especially those most vulnerable to environmental risks. Below we’ll explore how EAS Environmental is making a difference — and then identify five key pillars of corporate responsibility in action.
By Spencer Turner October 27, 2025
Restoration work can feel overwhelming—especially when you’re staring down the aftermath of a flood, fire, or hazardous material exposure. At EAS Environmental, we believe that transparency and trust are key. That’s why we’re pulling back the curtain on what a real restoration project looks like when you work with our team—from the first call to the final walkthrough. Our goal is to help you understand every step of the process, so you know exactly what’s happening and why. With decades of experience and a commitment to safety, we make sure your property is restored the right way—the first time. By the end, you’ll not only have a clean, safe space again but also the peace of mind that comes from knowing it was done properly. Abstract: A grease fire broke out in the kitchen of a Florence apartment, spreading smoke and soot to the walls, ceilings, and floors throughout the second-story residence. Just your typical fire mitigation job, right? Wrong; after some third-party sampling and laboratory analysis, Asbestos-Containing Materials (ACMs) were identified in the apartment. In this case study, we walk through how our company, EAS Environmental, handled the turn-key process of the asbestos abatement, and then rebuilding the property to its pre-loss condition. From navigating complex environmental regulations to coordinating restoration timelines, this project showcased the importance of expertise, communication, and precision in every phase. This article highlights how our team transformed an unexpected challenge into a seamless, compliant, and fully restored living space. The Situation: Fire Damages Disturb Asbestos Containing Materials The tenant accidentally started a grease fire in the kitchen of their second-story Florence apartment. The good news: no one was seriously injured. The bad news: the fire left behind significant damage – smoke and soot coating every surface in every room. Fire mitigation projects happen every day, but not all of them come with an unexpected condition lurking beneath the layers of soot and smoke.
SEE MORE

Got a Question? We’re Here to Help.

You can arrange an appointment or make an enquiry by phone or email, orget in touch to us via our contact form.
CONTACT US TODAY